XM Cloud Adding additional Admins: Difference between revisions
Jump to navigation
Jump to search
Created page with "== Adding additional Admins == * Log into http://cp.xmission.com File:Cp-login-XMCloud.png <br><br> * Click on Account in the Header Nav Bar [[File:Account-nav-menu.png ]..." |
No edit summary |
||
| (One intermediate revision by the same user not shown) | |||
| Line 1: | Line 1: | ||
== Adding | {{archived}} | ||
== Adding Admins == | |||
* Log into http://cp.xmission.com | * Log into http://cp.xmission.com | ||
[[File:Cp-login-XMCloud.png]] | [[File:Cp-login-XMCloud.png]] | ||
| Line 26: | Line 28: | ||
* New Admin should now be able to log in with credentials you have created | * New Admin should now be able to log in with credentials you have created | ||
[[Category: Hosting Archives]] | |||
Latest revision as of 14:23, 25 September 2018
Adding Admins
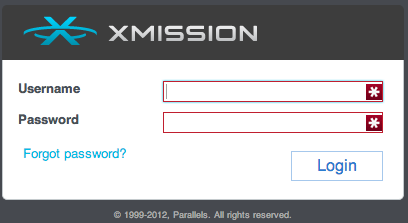
- Log into http://cp.xmission.com
- Click on Account in the Header Nav Bar
- Under Account choose Admins
- Click on Add New Admin
- Fill in all Login information and Contact Information
- Choose if you want Full Access


