DSL Actiontec Subnet Setup: Difference between revisions
Jump to navigation
Jump to search
mNo edit summary |
No edit summary |
||
| (2 intermediate revisions by the same user not shown) | |||
| Line 1: | Line 1: | ||
{{archived}} | |||
#Open up a web browser and go to <pre>http://192.168.0.1</pre> | #Open up a web browser and go to <pre>http://192.168.0.1</pre> | ||
#Click on <span class="button">Setup / Configuration</span> in the Actiontec menu. | #Click on <span class="button">Setup / Configuration</span> in the Actiontec menu. | ||
| Line 22: | Line 24: | ||
[[Category:DSL|Actiontec]] | |||
[[Category:DSL Troubleshooting|Actiontec Subnet Setup]] | |||
[[Category:DSL]] | |||
[[Category:PPPoA]] | |||
Latest revision as of 12:46, 6 June 2019
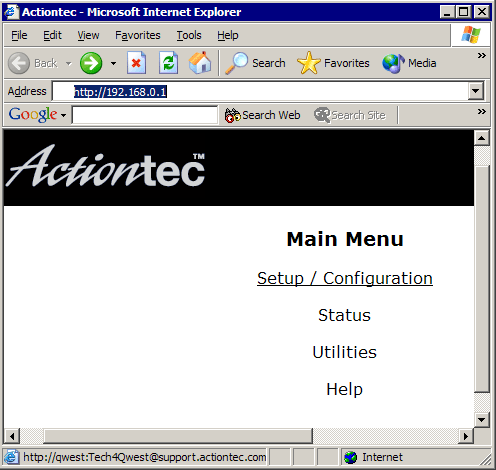
- Open up a web browser and go to
http://192.168.0.1
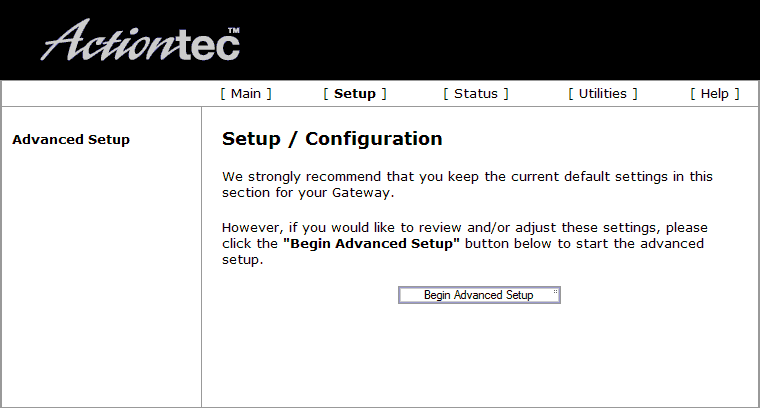
- Click on in the Actiontec menu.
- Click on .
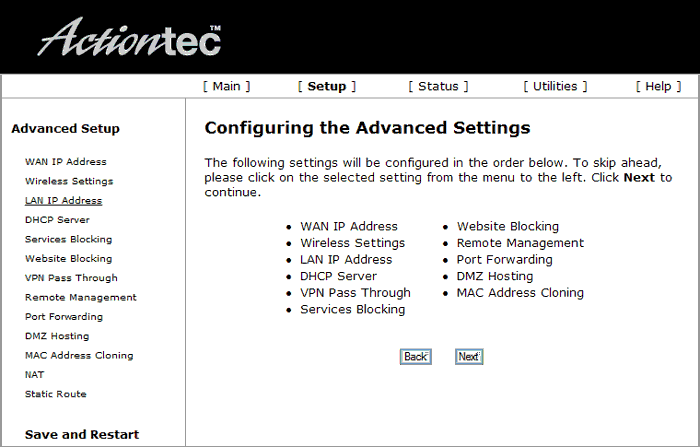
- Click the button.
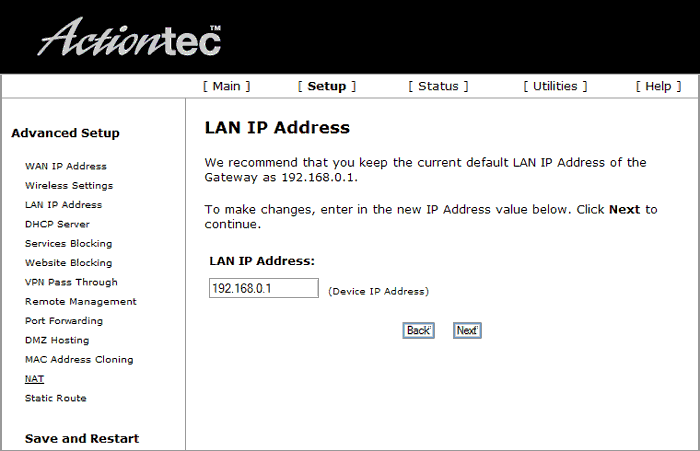
- Click on .
- Type in your LAN IP Address (The second IP address of the subnet).
- Select .
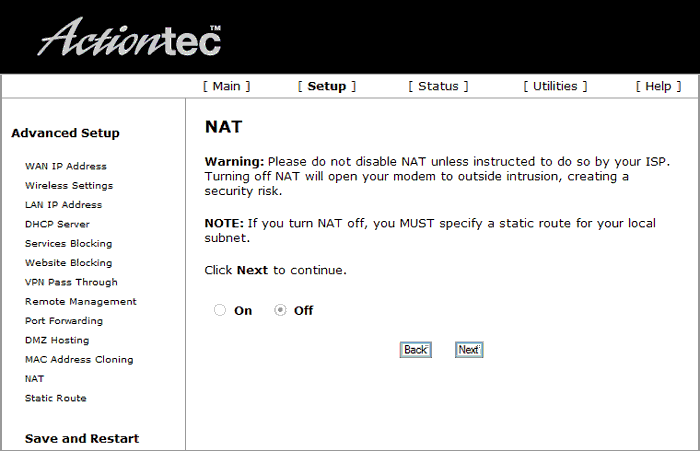
- Select for NAT.
- Select .
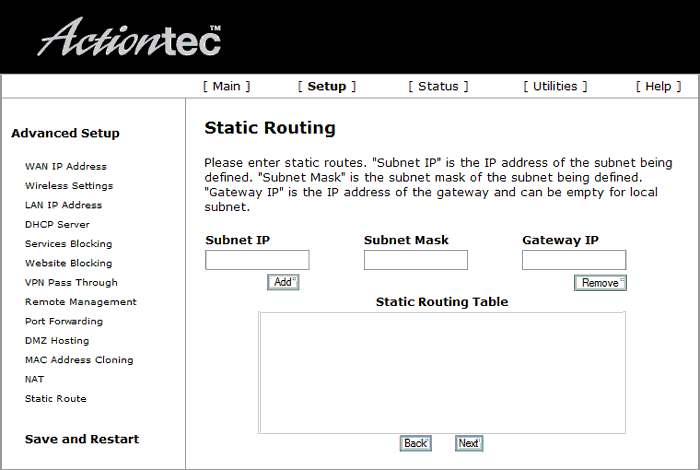
- Type in the first IP of your subnet in .
- Type in your Subnet Mask in .
- Leave the blank.
- Select .
