IChat: Difference between revisions
Jump to navigation
Jump to search
update for lion and auto find server |
No edit summary |
||
| Line 31: | Line 31: | ||
#Additional configuration via ''Preferences'' may be required for video and audio chat. | #Additional configuration via ''Preferences'' may be required for video and audio chat. | ||
[[Category:FAQ]] | |||
{{footer}} | {{footer}} | ||
Latest revision as of 20:43, 27 January 2014
- Start iChat. The Mac icon for iChat looks like this:
- If you have already been running iChat for other Instant Messaging accounts follow these initial instructions
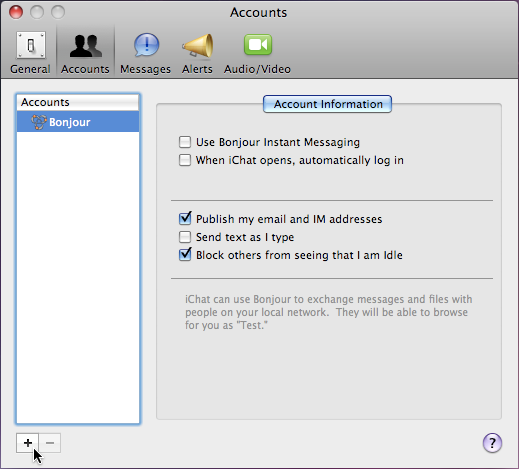
- Pull down the menu labeled iChat by the Apple menu in the upper left of your screen.
- Select Preferences.
- Press the tab on the Preferences window that comes up
- Press the button at the bottom left corner of the window:
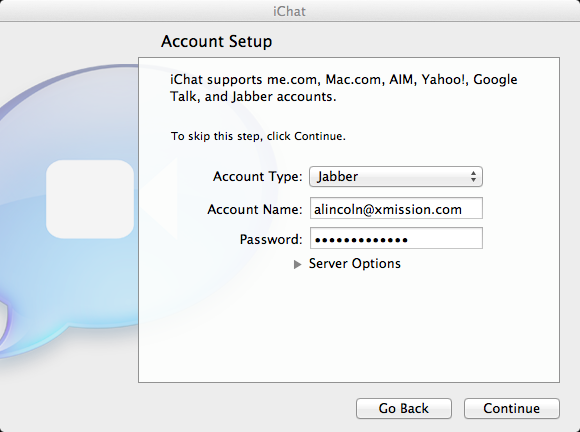
- A window will appear asking you to setup an account. This is the same window that will appear if you are running iChat for the first time.
- Pull down and select
- In the Account Name field enter your email address@xmission.com.
- In the Password field enter your XMission email password.
- Click the button.
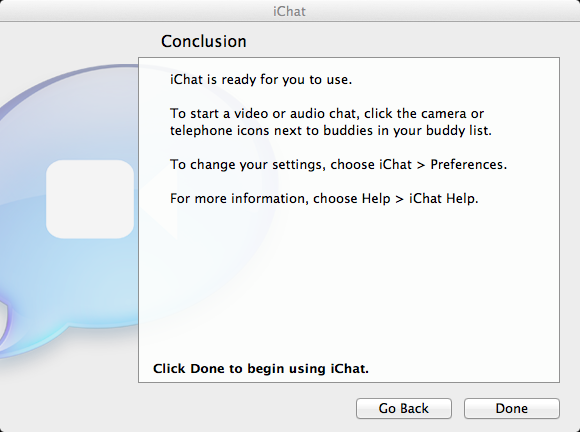
- The next window will be the Conclusion window.
- Click .
- You can add friends who are connected to the XMPP network. This includes other XMission accounts along with GTalk.
- Pull down the Window menu from the top bar.
- Select Jabber List.
- A Jabber List window will appear with your newly created account. The menu beneath your name determines your status.
- You can add friends on the XMPP network with the plus button in the lower left.
- Additional configuration via Preferences may be required for video and audio chat.


