Hosted Email:Outlook iOS: Difference between revisions
Jump to navigation
Jump to search
| Line 6: | Line 6: | ||
=== First Time Setup === | === First Time Setup === | ||
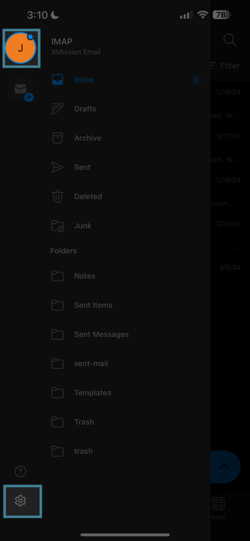
[[File:Outlook-1.png|250px]] | {| | ||
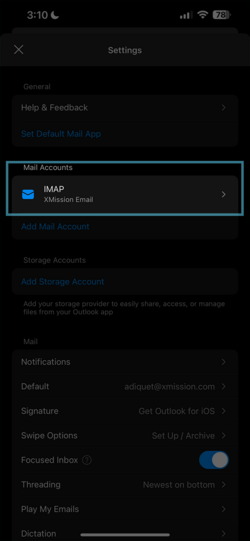
[[File:Outlook-2.png|250px]] | |- style="vertical-align:top;" | ||
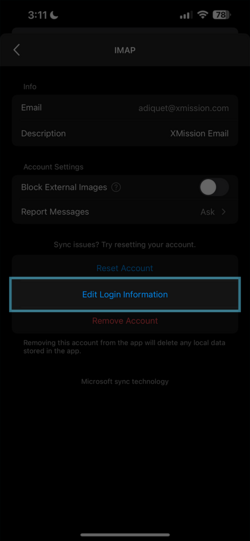
[[File:Outlook-3.png|250px]] | | [[File:Outlook-1.png|250px]] | ||
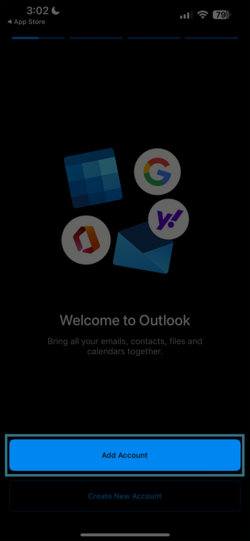
* Launch Outlook on your Phone | |||
| [[File:Outlook-2.png|250px]] | |||
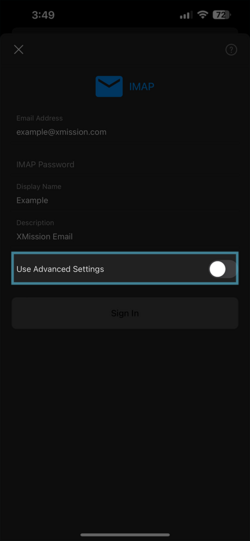
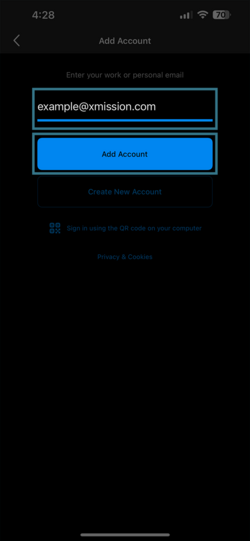
* Enter in your email address | |||
| [[File:Outlook-3.png|250px]] | |||
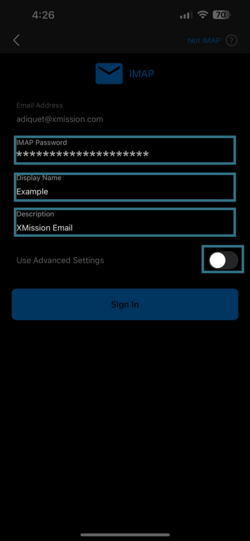
* Enter in your password for your email account | |||
* Enter a Display Name | |||
* Enter a Description | |||
* Tap the toggle switch to use Advanced settings | |||
|} | |||
[[File:Outlook-hosted- | {| | ||
[[File:Outlook- | |- style="vertical-align:top;" | ||
| [[File:Outlook-hosted-4.png|250px]] | |||
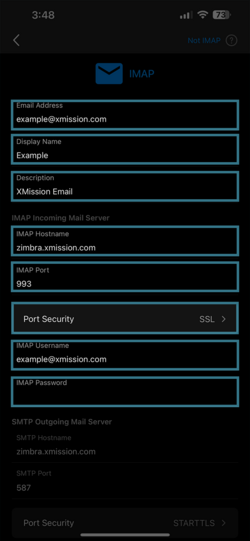
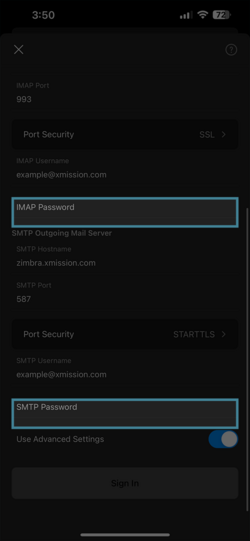
* IMAP Hostname: '''zimbra.xmission.com''' | |||
* IMAP Port: '''993''' | |||
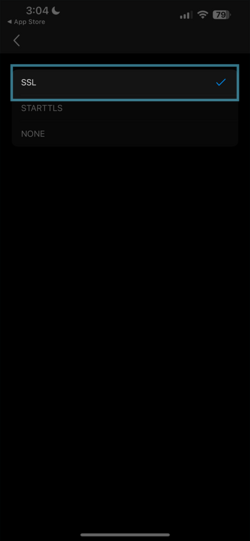
* Tap the Port Security to verify SSL is checked | |||
* IMAP Username: will be your full email address | |||
* IMAP Password: enter in your Email password | |||
| [[File:Outlook-5.png|250px]] | |||
* Verify SSL is checked | |||
* Tap on the arrow at the top to go back | |||
|} | |||
[[File: Outlook-12.png|250px]] | {| | ||
[[File: Outlook-13.png|250px]] | |- style="vertical-align:top;" | ||
| [[File:Outlook-hosted-6.png|250px]] | |||
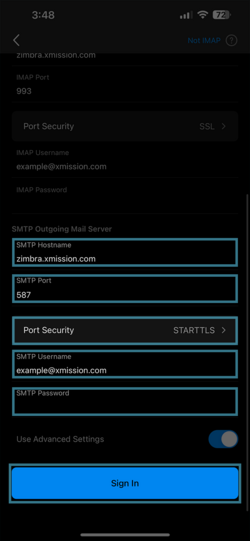
* SMTP Hostname: '''zimbra.xmission.com''' | |||
* SMTP Port: '''587''' | |||
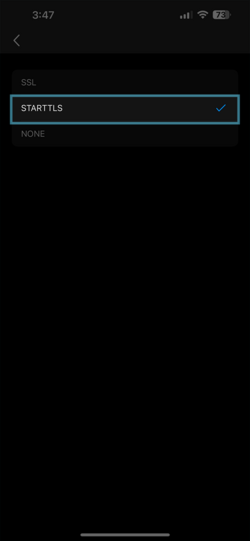
* Tap on Port Security verify '''STARTTLS''' is checked | |||
* SMTP Username: will be your full email address | |||
* SMTP Password; enter in your Email password | |||
| [[File:Outlook-7.png|250px]] | |||
* Verify '''STARTTLS''' is checked | |||
* Tap on th earrow at the top to go back | |||
* Then Click on '''Sign in''' | |||
|} | |||
{| | |||
|- style="vertical-align:top;" | |||
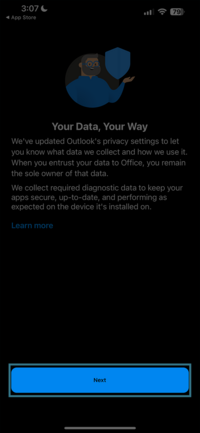
| [[File:Outlook-8.png|200px]] | |||
* Tap Next | |||
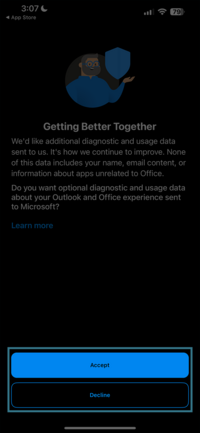
| [[File:Outlook-9.png|200px]] | |||
* Choose Accept or Decline | |||
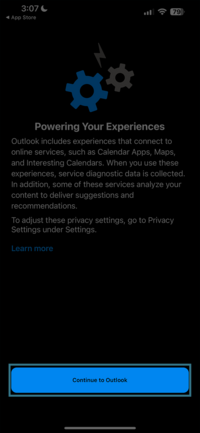
| [[File:Outlook-10.png|200px]] | |||
* Tap Continue to Outlook | |||
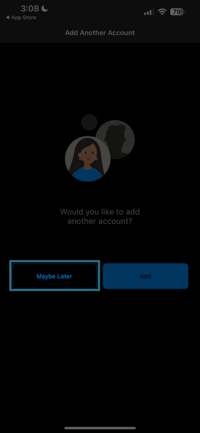
| [[File:Outlook-11.png|200px]] | |||
* Finally Tap Maybe Later | |||
|} | |||
{| | |||
|- style="vertical-align:top;" | |||
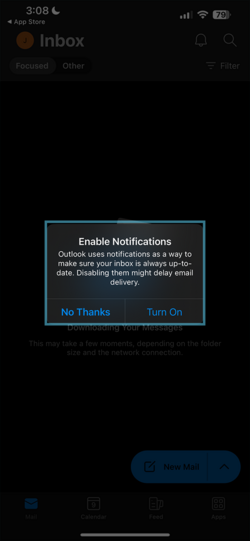
| [[File:Outlook-12.png|250px]] | |||
* To enable notifications - tap Turn On | |||
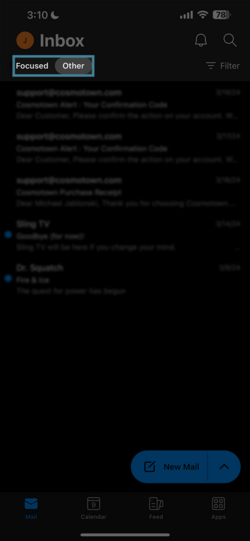
| [[File:Outlook-13.png|250px]] | |||
* Chacge the focus to Other to see your full inbox | |||
|} | |||
=== Edit Information === | === Edit Information === | ||
Revision as of 14:38, 10 April 2024
Outlook for iOS
Setting you your ZPP or Hosted Email with Outlook for iOS
- Outlook Version - 4.2412.0
- iOS Version - 17.4.1
First Time Setup
|
|
|
|
|
|
|
|
|
