WordPress: Difference between revisions
| Line 55: | Line 55: | ||
[[8]] Next Select your Database<br> | [[8]] Next Select your Database<br> | ||
[[File:phpmyadmin_database_select.png]]<br> | [[File:phpmyadmin_database_select.png]]<br> | ||
[[9]] Choose Check All under all the tables - <br> | |||
[[File:phpmyadmin_checkall.png]]<br> | |||
[[10]] Where is says With Selected choose Drop<br> | |||
[[File:phpmyadmin_drop.png]]<br> | |||
[[11]] Choose Yes after you select Drop this will remove all the tables that the Pre-Installed WordPress has created and allow you to import your database.<br> | |||
[[12]] Now choose Import from the menu bar<br> | |||
[[File:phpmyadmin_database.png]]<br> | |||
[[13]] In the Section File to Import: Click on Choose File so you can select your database to import. <br> | |||
[[File:phpmyadmin_import.png]] | |||
Revision as of 12:34, 9 May 2012
WordPress one click install
XMission New Hosting Package
- To utilize the WordPress once click install you will need to Login to your control panel.
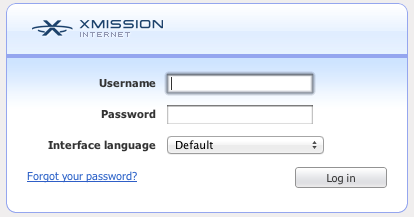
1 Go to http://hosting.xmission.com
2 Enter your Username and Password
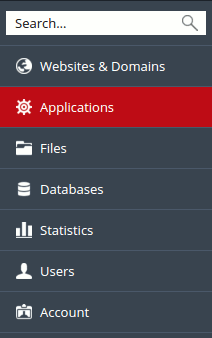
3 Next select Website & Domains from the menu
4 Scroll down to your domain and click on it
![]()
5 After you click on your domain scroll down to Web Scripting and Statistics and look for PHP Support

6 Change this from Apache Module to FastCGI application
![]()
7 Click OK and then go to Applications on the Menu Bar and choose WordPress Install
![]()
8 Click the check box to agree to the terms - and then choose next
9 Specify the location where this web application should be installed

10 Administrative access to the application - you can choose to use your default username or create a new Admin user for Wordpress

- If no other changes are needed you can click install and you will be finished ..
11 If you want you can configure additional settings by clicking on Show All Settings
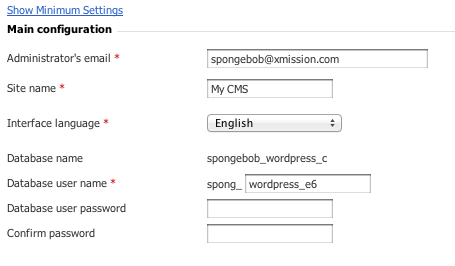
- Congratulations you have completed the One Click Install of Wordpress
Moving an Existing Wordpress to XMission Hosting
1 Follow the above section
2 Export the Database for your WordPress and save it to your local computer
- Most Hosting companies will use PHPMyAdmin - you can log into this and export your database.
3 Once your Database has been exported you will log into your control panel as stated above in Step 2 then click on Websites & Domains as in Step 3
4 Click on Databases

5 Choose the Database that reflects your Wordpress Install
![]()
6 Select webadmin icon located under Tools - This will launch PHPMyAdmin so you can import your WordPress Database

7 Once in PHPMyAdmin - select Database from the menu
![]()
8 Next Select your Database

9 Choose Check All under all the tables -
![]()
10 Where is says With Selected choose Drop
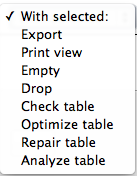
11 Choose Yes after you select Drop this will remove all the tables that the Pre-Installed WordPress has created and allow you to import your database.
12 Now choose Import from the menu bar
![]()
13 In the Section File to Import: Click on Choose File so you can select your database to import.

