XMission Email:iOS: Difference between revisions
Jump to navigation
Jump to search
remove godaddy x.co, embolden link |
No edit summary |
||
| Line 41: | Line 41: | ||
[[Category:Client Email Configuration|XMission Email|iPhone / iPad]] | [[Category:Client Email Configuration|XMission Email|iPhone / iPad]] | ||
[[Category:XMission Email|iPhone / iPad]] | [[Category:XMission Email|iPhone / iPad]] | ||
==== Delete the Profile ==== | |||
1. Go into Settings | |||
2. Click General | |||
3. Click on "Profile" | |||
4. Click on the XMission profile | |||
5. Delete the Profile. | |||
Revision as of 13:03, 30 July 2015
Download the Profile
Download the XMission email profile by loading this webpage on your device and then tapping here.
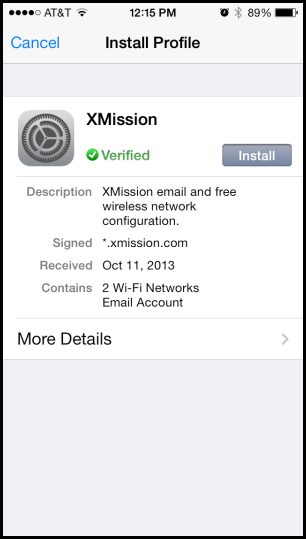
You will see the "Install Profile" for XMission launch. Tap the Install button.
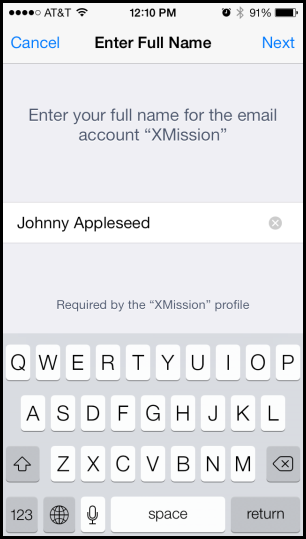
Enter your full name:
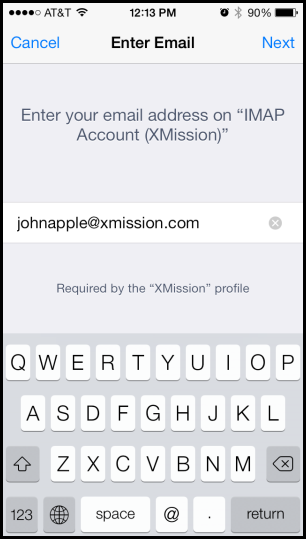
Enter your XMission email:
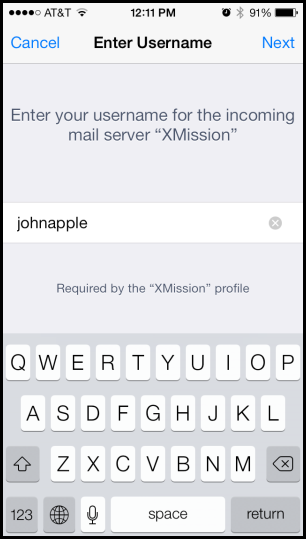
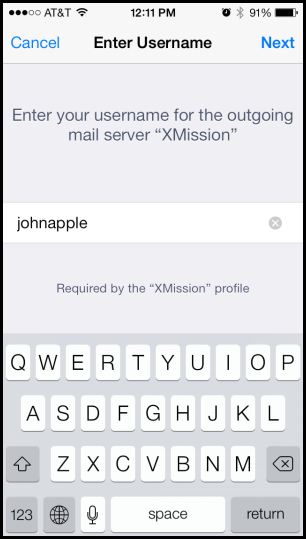
Enter your XMission account name (the part without @xmission.com):
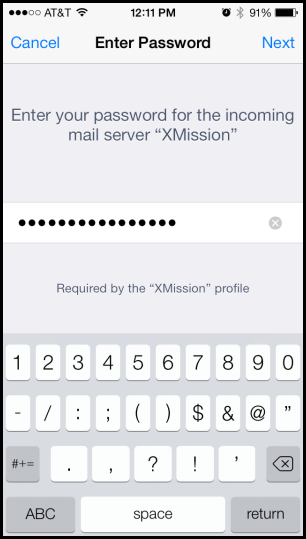
Enter your XMission password:
Enter your XMission account name again:
Delete the Profile
1. Go into Settings 2. Click General 3. Click on "Profile" 4. Click on the XMission profile 5. Delete the Profile.
