WordPress: Difference between revisions
Jump to navigation
Jump to search
| Line 2: | Line 2: | ||
=== XMission New Hosting Package === | === XMission New Hosting Package === | ||
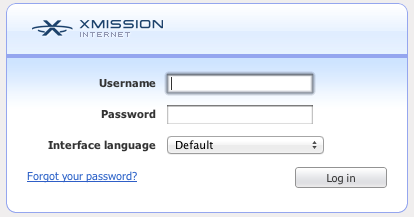
* To utilize the WordPress once click install you will need to Login to your control panel. | * To utilize the WordPress once click install you will need to Login to your control panel. | ||
[[1]] Go to [http://hosting.xmission.com http://hosting.xmission.com]<br> | |||
[[2]] Enter your Username and Password<br> | |||
[[File:Hosting_login.png]] | [[File:Hosting_login.png]] | ||
[[3]] Next select Website & Domains from the menu<br> | |||
[[File:web_domains.png]] | [[File:web_domains.png]] | ||
[[4]] Scroll down to your domain and click on it<br> | |||
[[File:domain_sections.png]] | [[File:domain_sections.png]] | ||
[[5]] After you click on your domain scroll down to Web Scripting and Statistics and look for PHP Support<br> | |||
[[File:php_support.png]] | [[File:php_support.png]] | ||
[[6]] Change this from Apache Module to FastCGI application<br> | |||
[[File:Php_support_factcgi.png]] | [[File:Php_support_factcgi.png]] | ||
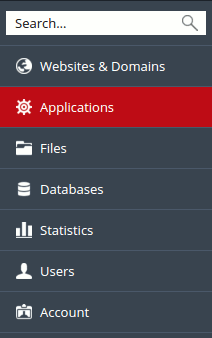
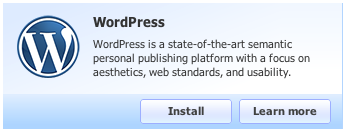
[[7]] Click OK and then go to Applications on the Menu Bar and choose WordPress Install<br> | |||
[[File:menu_application.png]] | |||
[[File:wordpress_install.png]] | |||
[[8]] Click the check box to agree to the terms - and then choose next <br> | |||
[[9]] Specify the location where this web application should be installed <br> | |||
[[File:wp_location.png]] | |||
[[10]] Administrative access to the application - you can choose to use your default username or create a new Admin user for Wordpress<br> | |||
[[File:wp_admin_access.png]] | |||
Revision as of 14:25, 8 May 2012
WordPress one click install
XMission New Hosting Package
- To utilize the WordPress once click install you will need to Login to your control panel.
1 Go to http://hosting.xmission.com
2 Enter your Username and Password

3 Next select Website & Domains from the menu

4 Scroll down to your domain and click on it
![]()
5 After you click on your domain scroll down to Web Scripting and Statistics and look for PHP Support

6 Change this from Apache Module to FastCGI application
![]()
7 Click OK and then go to Applications on the Menu Bar and choose WordPress Install
![]()
8 Click the check box to agree to the terms - and then choose next
9 Specify the location where this web application should be installed

10 Administrative access to the application - you can choose to use your default username or create a new Admin user for Wordpress

