Migration:WordPress: Difference between revisions
No edit summary |
No edit summary |
||
| Line 1: | Line 1: | ||
{{archived}} | |||
== Letter to XMission Blog (WordPress) Customers == | == Letter to XMission Blog (WordPress) Customers == | ||
Latest revision as of 15:23, 29 January 2014
Letter to XMission Blog (WordPress) Customers
XMission Blogs Discontinued
---------------------------

We are sorry to notify our blog customers that, due to a lack of customer
interest, XMission has decided to no longer provide a blog service. Before
shutting down the service, we can help you migrate your blog to a free
hosted blogging service which also uses WordPress.

Visit our wiki for suggestions of a free hosted WordPress solutions on the
web and instructions on how to move your blog data to that new service:
 http://wiki.xmission.com/index.php?title=Migration:WordPress

If you have a blog that you want to move, we ask that you migrate it
before the end of April. If you migrate your blog somewhere, email
support@xmission.com with the new address and we'll automatically redirect
requests to your old XMission blog to the new location for a year.

Thank you for your understanding and cooperation in this matter. If you
need help with any of the steps outlined in our instructions, or have
other questions call or email support@xmission.com
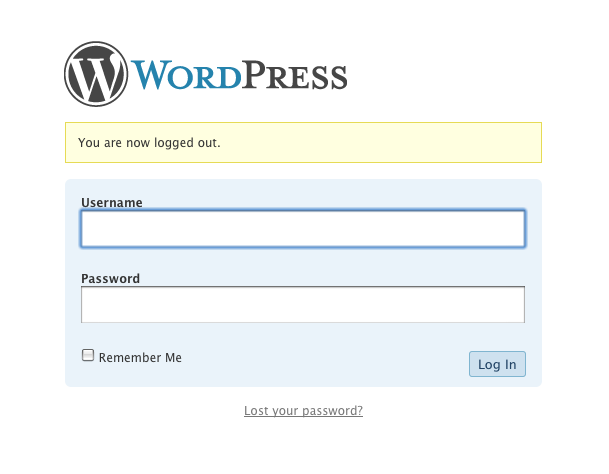
Log in to your existing Blog (WordPress) account
Log in to your XMission Blog at the following URL:
http://blogs.xmission.com/wp-admin/wp-login.php
Export your existing data
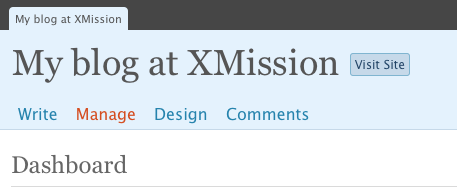
Once you are logged in, underneath your blog name there are four links: Write, Manage, Design, and Comments. Click on Manage.
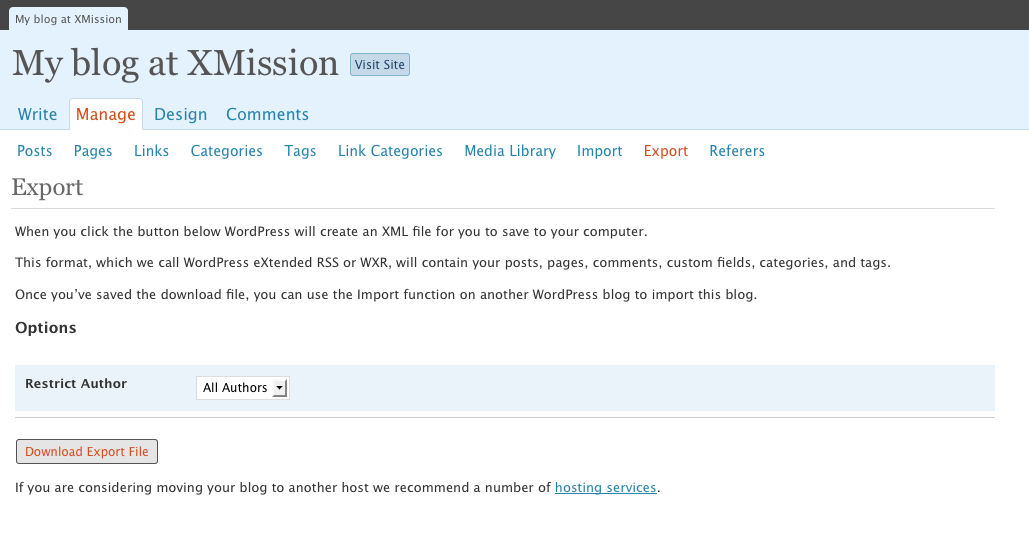
After clicking Manage, a new set of links will show up below those first four links. Click on Export:

Click on 'Download Export File' . This will export all of your blog data into a file and allow you to download it to your computer. We suggest saving this file somewhere handy, such as your Desktop, so it can be easily found in the next step.
Create new WordPress account
Create a new WordPress account with an alternate hosted WordPress provider if you do not already have one. One popular free WordPress hosting solution is at [WordPress.com]. If you are familiar with installing and maintaining your own copy of WordPress, feel free to do so.
Log in to new WordPress account
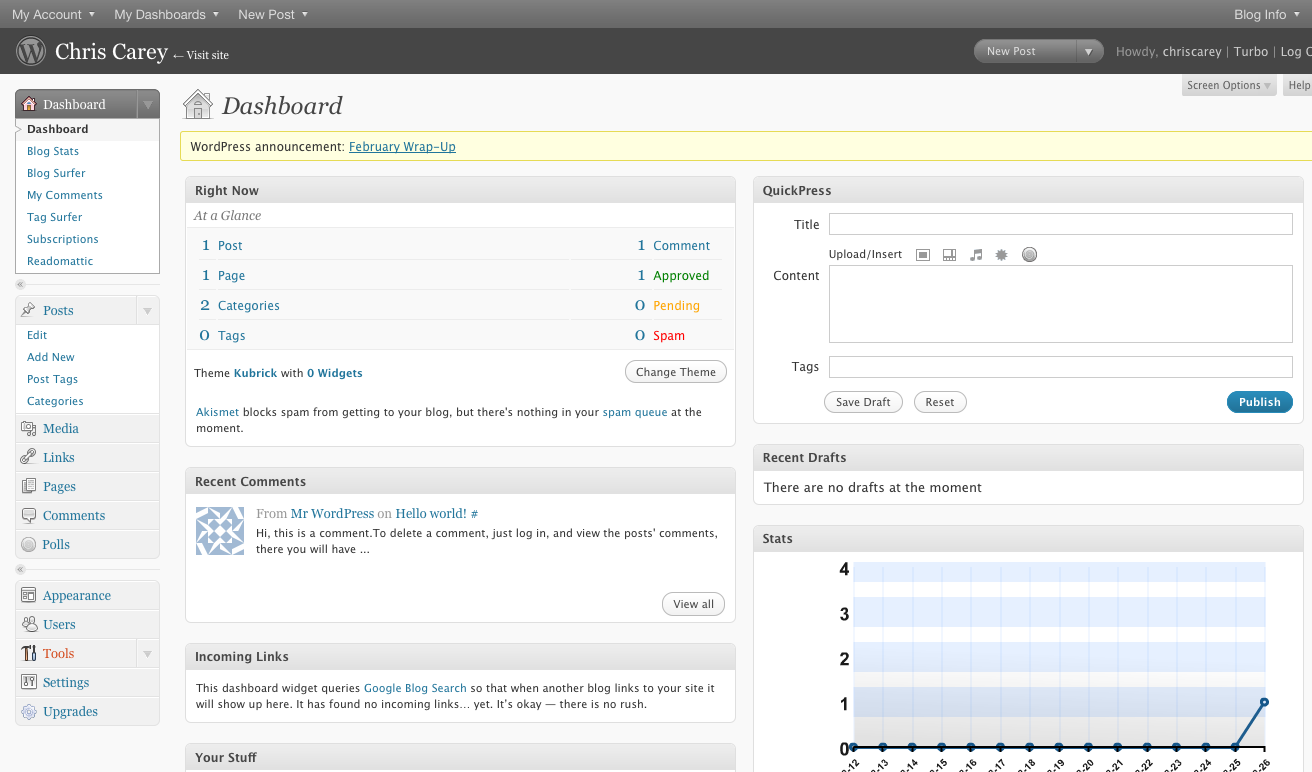
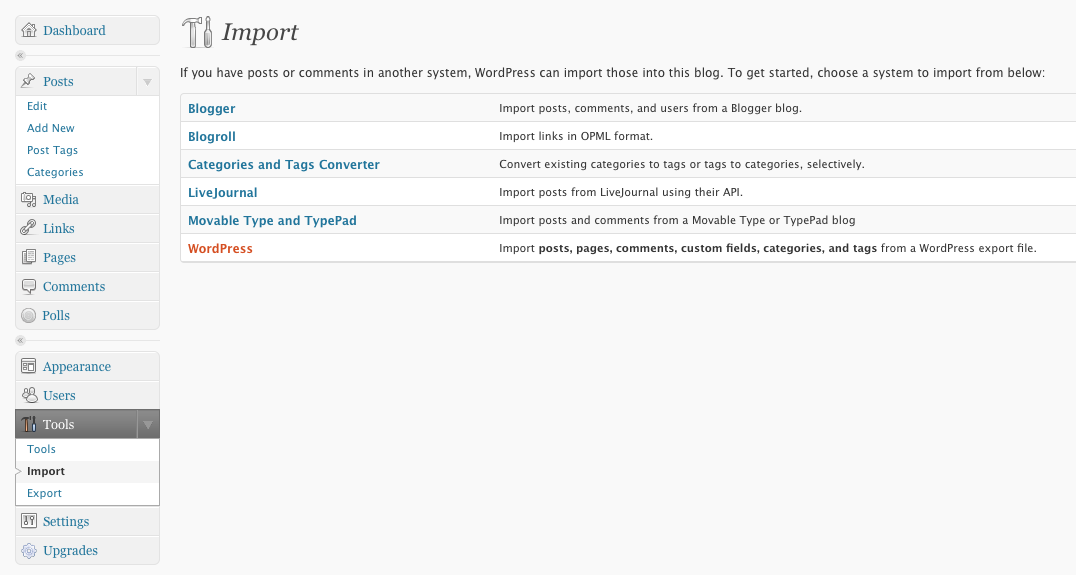
Log in to your new WordPress account. Recent versions of WordPress (2.7 and newer) have a new Dashboard, so the page may look a little different than what you are used to. From the main Dashboard, look for "Tools" on the left hand side of the screen. Click on 'Tools'.
Import your data into new WordPress account
Click on 'Import' which can be found under the 'Tools' menu.

After clicking 'Import', click on 'WordPress' on the right hand side. This will bring you to a page where you can select the file you saved to your computer and begin the import process.
All Done! All of your posts, stories, and comments should now be fully moved over to the new WordPress.