Hosted Email:Thunderbird Mac: Difference between revisions
mNo edit summary |
mNo edit summary |
||
| Line 1: | Line 1: | ||
Please verify you are running the most recent version of this mail application by choosing About Thunderbird in the navigation menu. Please update if your software is out of date. | |||
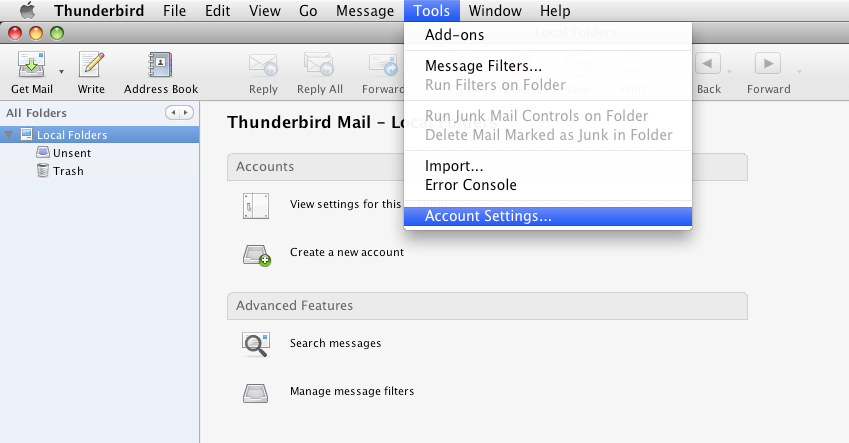
1. Open Thunderbird and click on ''Account Settings'' under the ''Tools'' menu. | 1. Open Thunderbird and click on ''Account Settings'' under the ''Tools'' menu. | ||
:[[Image:mac_thunderbird_1.png]] | :[[Image:mac_thunderbird_1.png]] | ||
| Line 9: | Line 11: | ||
<br/> | <br/> | ||
<br/> | <br/> | ||
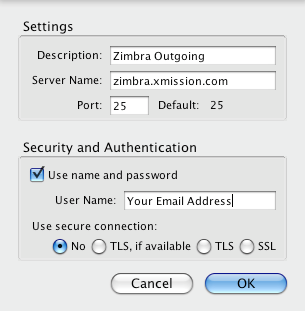
3. Fill out the settings window as show below and click ok. ''Use secure connection'' | 3. Fill out the settings window as show below and click ok. ''Use secure connection'' should be set SSL. Click Ok when you are finished. | ||
:[[Image:mac_thunderbird_3.png]] | :[[Image:mac_thunderbird_3.png]] | ||
<br/> | <br/> | ||
Latest revision as of 13:48, 27 March 2019
Please verify you are running the most recent version of this mail application by choosing About Thunderbird in the navigation menu. Please update if your software is out of date.
1. Open Thunderbird and click on Account Settings under the Tools menu.
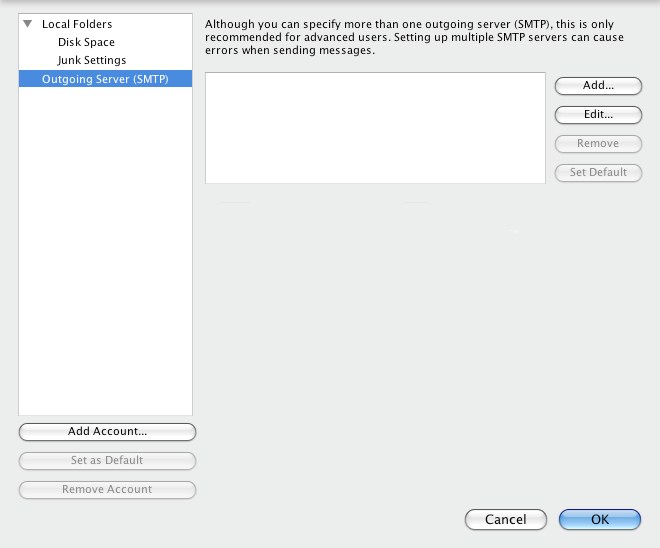
2. Select Outgoing Server (SMTP) from the left column and then click the Add... button.
3. Fill out the settings window as show below and click ok. Use secure connection should be set SSL. Click Ok when you are finished.
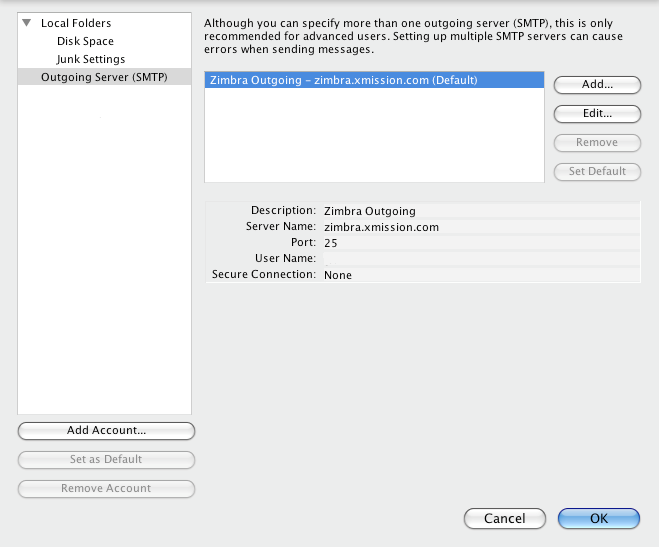
4. Now click the Add Account... button.
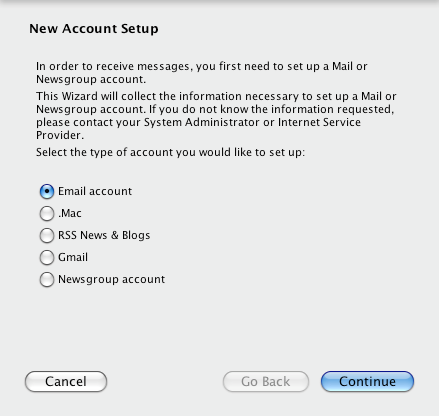
5. Select Email account and click Continue.
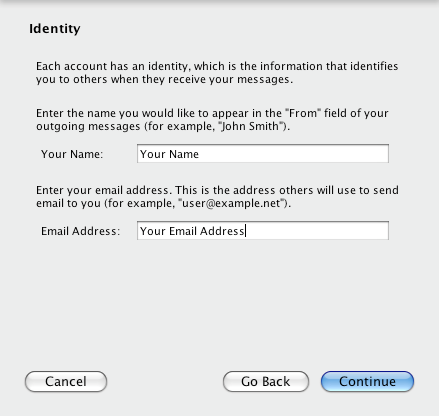
6. Type in your Name and Email address and then click Continue.
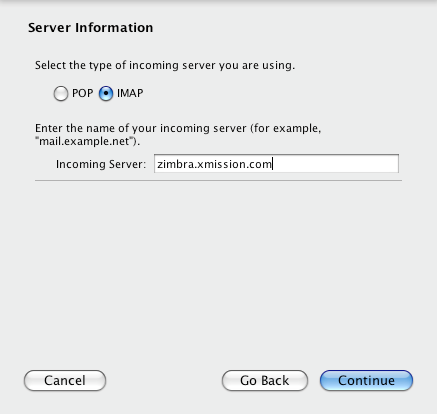
7. Fill out the information as shown below and click Continue.
Note: The server type should always be set to IMAP for maximum compatibility.
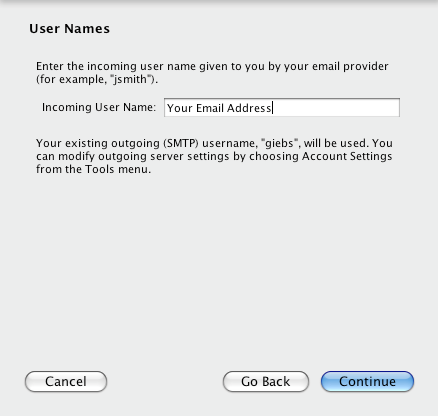
8. Type in your full Email Address for the Incoming User Name and click Continue.
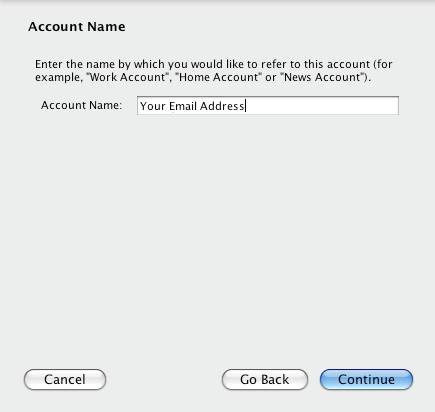
9. You can set the account name to anything you like, but to keep things simple we suggest using your full email address. Click Continue when finished.
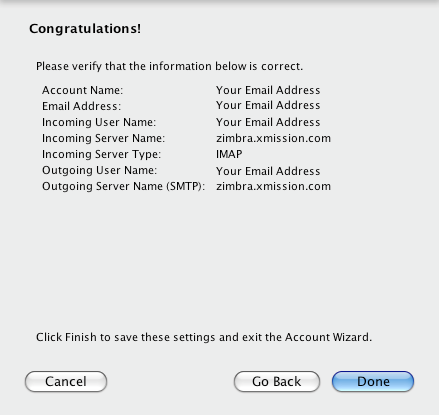
10. Review the information listed and make sure its correct, when finished click the Done button. You should now be able to send and receive messages.
