Difference between revisions of "Spybot"
From XMission Wiki
| Line 1: | Line 1: | ||
| + | {{archived}} | ||
| + | |||
==Installation== | ==Installation== | ||
Latest revision as of 14:48, 14 January 2020
Installation
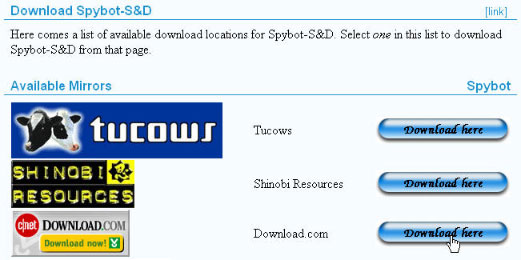
- Click here to go to the Spybot Search & Destroy download page.
- Select from one of the download mirrors. For this example, we'll use download.com.
- Click the "Download Here" link which will open the download.com web page.
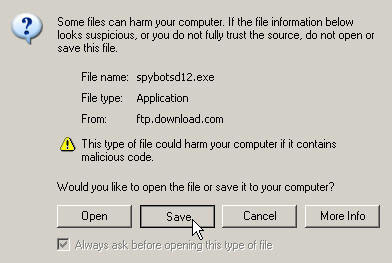
- Click the "Download Now" link when prompted click .

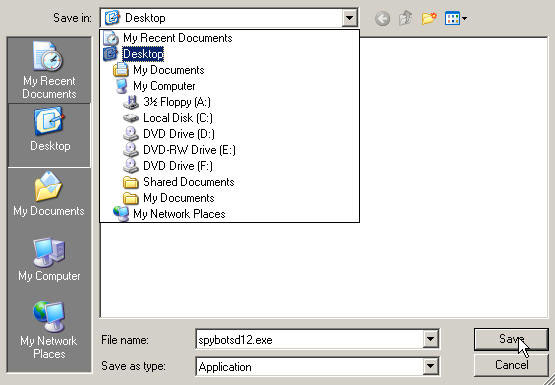
- Next you will be asked where to save the file. The easiest place to save it is your Desktop.
- Click the drop down box next to "Save In" and select "Desktop".
- Click .
- Once the Download is finished, double click on the Spybot file that was downloaded to your desktop to begin the installation.
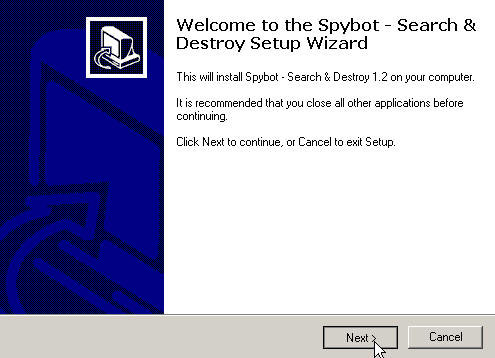
- After double-clicking, the installation setup will begin. Click
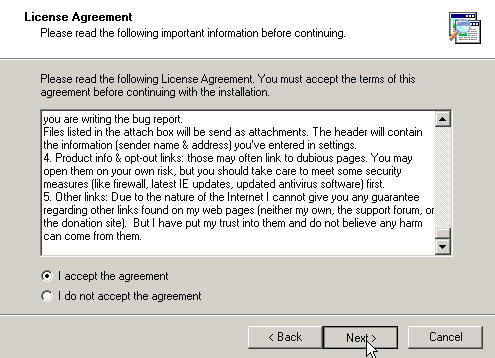
- Read and accept the License Agreement, then click .
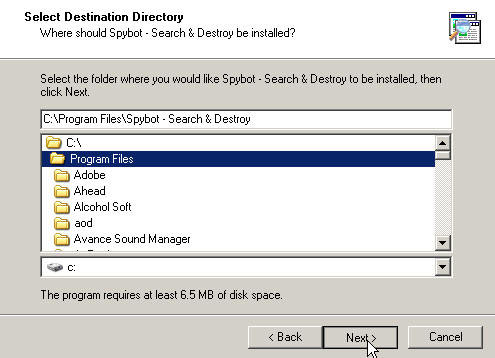
- Select where you want to install the program, then click
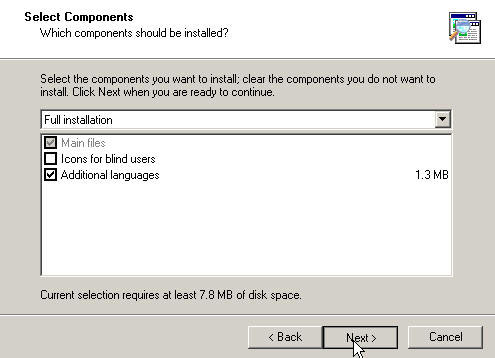
- Select "Full Installation" then click
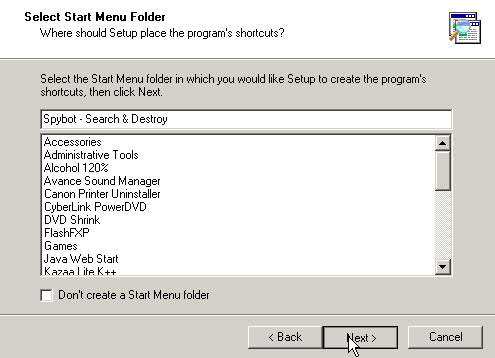
- Select the start menu folder you want the Spybot shortcuts to be created, then click .
- Check the box to create a desktop and Quick Launch icon, then click .
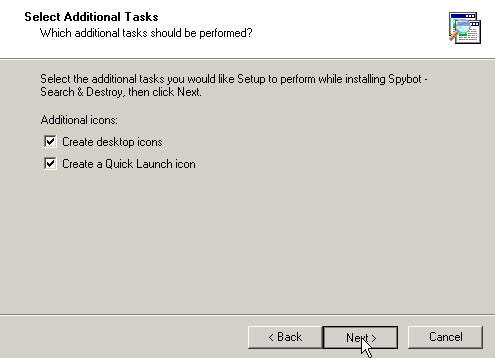
- Review the settings and click to continue.
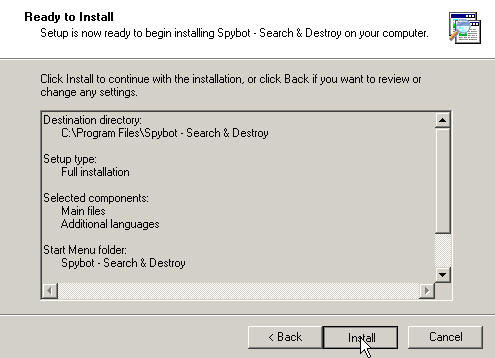
- Click to complete the Installation.
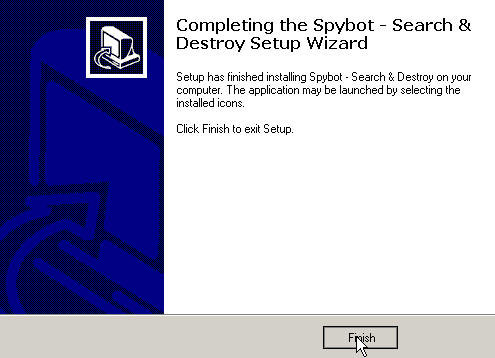
- You should now have a Spybot desktop icon, double click it to launch Spybot.
Updating
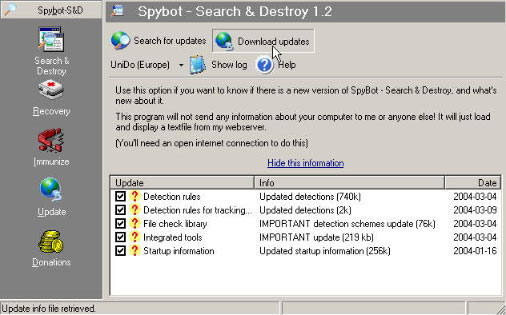
It's important that you stay current with Spybot updates to keep your computer clean of adware and spyware. It's recommended that you run the update before each scan to be sure you have the latest definitions available. Follow the instructions below to update Spybot.
- Open Spybot and click .
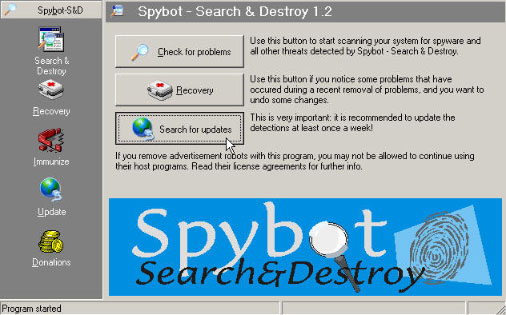
- Spybot will check for new updates, if there are updates available select them all by checking the box next to them and click .
Scanning
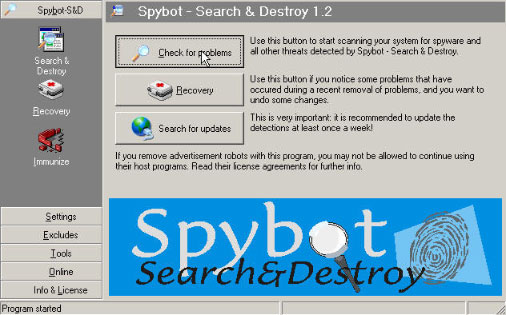
To begin your scan with Spybot follow the instructions below.
- Open Spybot Search & Destroy and click . Spybot will begin scanning your computer for adware and spyware, this may take several minutes.
- Once the scan is finished you'll be provided with a list of items Spybot detected on your computer. Most likely you'll want to delete everything but scan through the list to make sure. Place a check mark next to each item you wish to delete, then click .
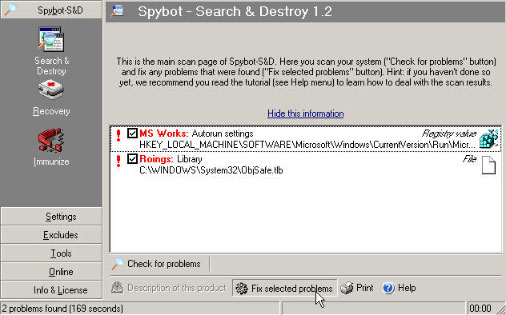
This will complete your Spybot scan. It's recommended that you run the program on a weekly basis to keep your computer free of adware and spyware. For further information and support on Spybot Search & Destroy, click here to visit their website.
