Quickstart
Quick Start is designed to get you up and running as quickly as possible. Outlined are the links you'll need to choose account types and packages that fit your needs, registering and paying for your account, connecting, and setting up your additional services.
Account Types
- Business Account Information
- Personal Account Information
- Web Hosting Account Information
- Colocation Service Information
- Dedicated Service Information
XMission's policies
- XMission Acceptable Use Policy
- XMission Privacy Statement
- Account Registration Page
- Domain Registration Page
Connect to the Internet
We also offer quick setup software.
Set up your services
If you find you need help along the way or you'd just like to contact XMission staff members directly, you can refer to our help pages, or you may go directly to our contact page.
Installers
Most people will want the Full Installer, which includes the Dialer:
- Full Installer (instructions)
- Dial-up Only Installer (instructions)
- Email Only Installer (instructions)
Full Installer
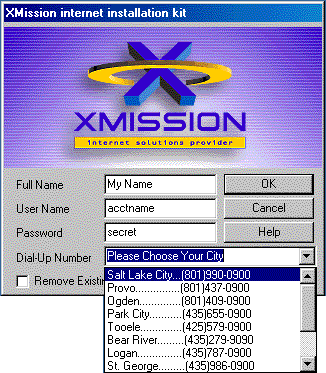
- Open the installer program by double-clicking on the xmfull.exe icon.

- Click on the dialog box that pops up.

- In the field labeled , enter the name you wish to appear on all outgoing email messages.
- In the field labeled , enter your XMission username.
- In the field labeled , enter your XMission password.
- In the pull-down menu labeled , please choose your nearest city.
- Click on .

The installer will now display a dialog box. When the installer is finished, another box is displayed which tells you that you are now set up for email and news access with XMission.
Dialup Only Installer
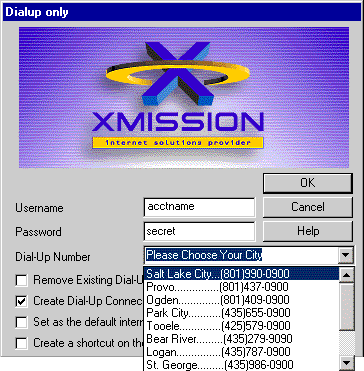
- Open the installer program by double-clicking on the dial-up.exe icon.

- Click on the dialog box that pops up.

- In the field labeled , enter your XMission username.
- In the field labeled , enter your XMission password.
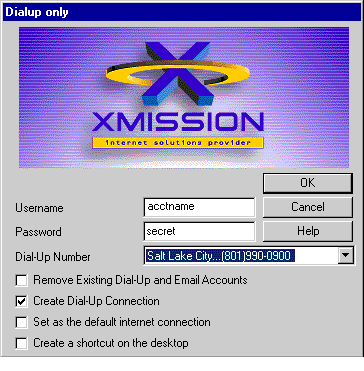
- In the pull-down menu labeled , please choose your nearest city.

*Please check all the options that apply to you. is checked by default.
The installer will now display a dialog box. When the installer is finished, another box is displayed which tells you how to use your new internet connection..
Email Only Installer
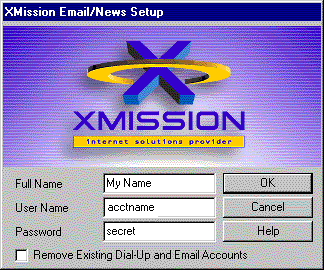
- Open the installer program by double-clicking on the insemail.exe icon.

- Click on the dialog box that pops up.

- In the field labeled , enter the name you wish to appear on all outgoing email messages.
- In the field labeled , enter your XMission username.
- In the field labeled , enter your XMission password.
- Click on .

The installer will now display a dialog box. When the installer is finished, another box is displayed which tells you that you are now set up for email and news access with XMission.
