Secure Your Sites
How to create a CSR
If you want to secure your site you will first need a CSR (Certificate Signing Request) - so how do you create one? Below are the instructions for our Cloud and Unlimited Hosting customers - if you do not have a Cloud or Unlimited Hosting package with us and will require a CSR please give us a call and we can help you out.
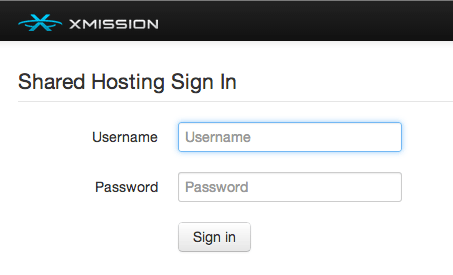
- First log into your account at http://hosting.xmission.com
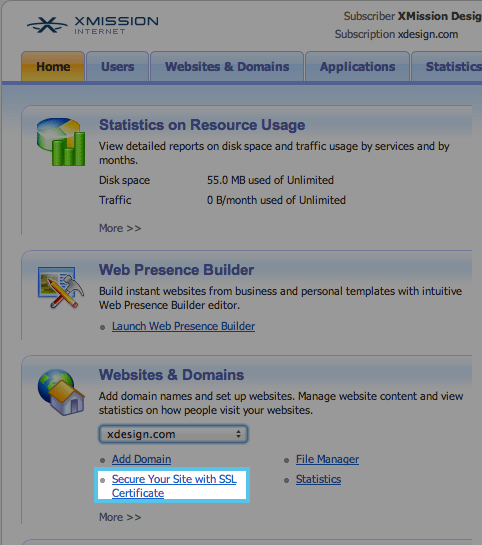
- Next Choose Secure your site with SSL Certificate you will find this under Websites & Domains
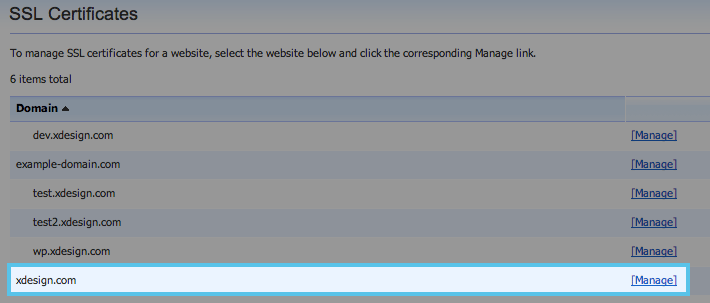
- From the next page choose the domain you will be adding your SSL Certificate to and then click on manage
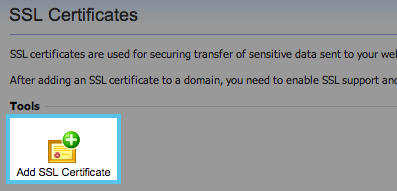
- Next click on the Add SSL Certificate button
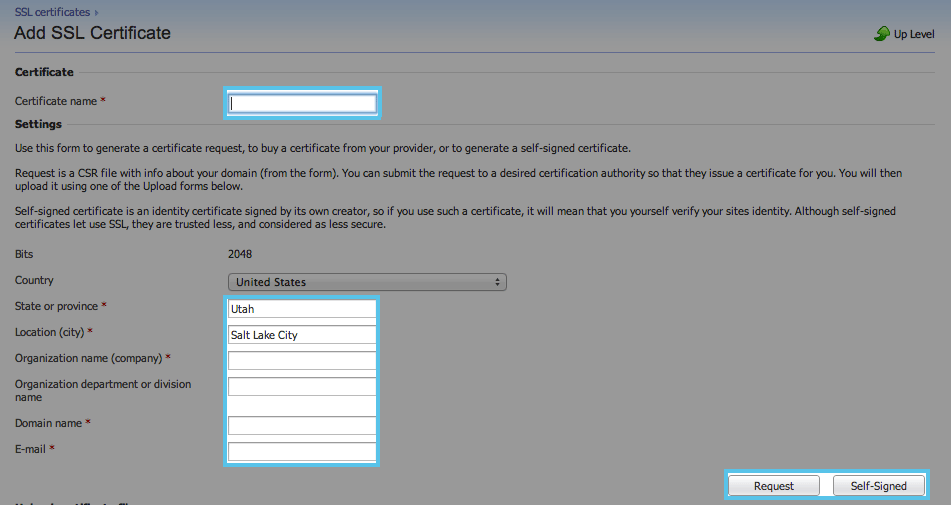
- Finally fill in the required fields
- Certificate name - be sure to add a name for this CSR so you can recognize it later.
- State or province - the state in which your business is located
- Location(city) - the city in which your business is located
- Domain name - this is important if you want your site to use www then make sure to include this in the domain name field - if your site will not use www then just put the domain name.
- E-mail - the email address associated with your domain name
Next you will choose Request or Self-Signed
Request will be used if you plan on purchasing a SSL Certificate from us - we can then use the CSR you just created to create your SSL Certificate - these two pieces of information go hand in hand to create your SSL Certificate and your Private Key.
Self-Signed will be used if you are not going to purchase a SSL but want your site to be secure - although Self-Signed certificates let you use SSL, they are trusted less, and considered as less secure.
Now you can take this CSR and place your order for an SSL Certificate at https://store.xmission.com
