XMission Control Panel/How to SSH to your server
How to SSH to your server
Command Line interface (CLI) is a very powerful tool when managing servers. You can access your server via many different means, on many different Operating Systems. Each Operating System has their own way of accessing its Command Line. Your Cloud Hosting is accessible via a Secure Shell Interface, SSH, for command-line access. The login username is <$EXAMPLE> with the password you have created for it. This guide will cover the most common connection means.
What you will need
- Your username and password
- Your server IP address (This can be found at https://xmission.com/account/)
- A program that allows SSH, like Terminal, PuTTY, etc
Connecting over SSH via Windows
PuTTY is the leading SSH client for windows, and is availible for a free download.
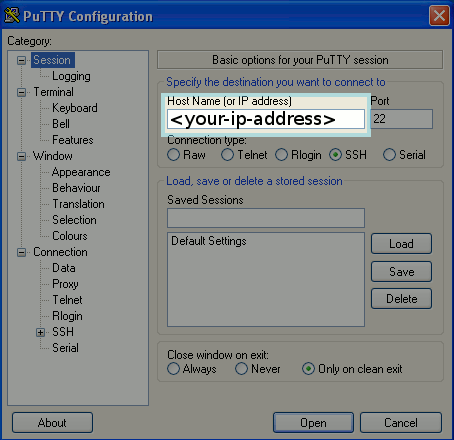
- Below is a screenshot of PuTTY - you will want to fill in your IP address of your server and then click Open.
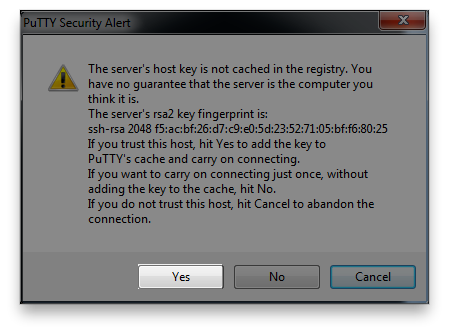
- From there you may get a PuTTY Security Alert - Click Yes to continue
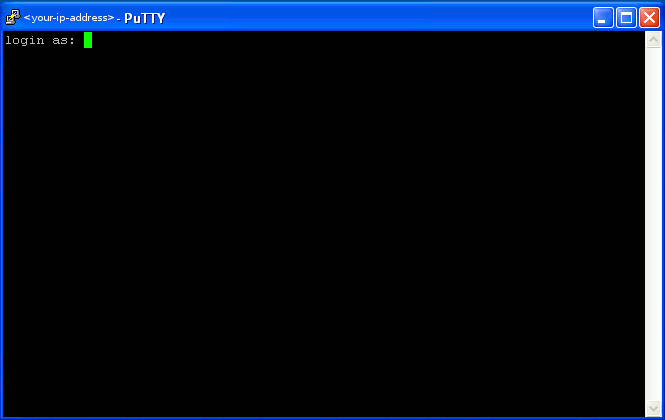
- Next you will get the terminal window - SSH connection to your server
- Enter <ftp-username>@your-ip-address and then your password
NOTE your server password is different than your Hosting Control panel password
Connecting via Mac
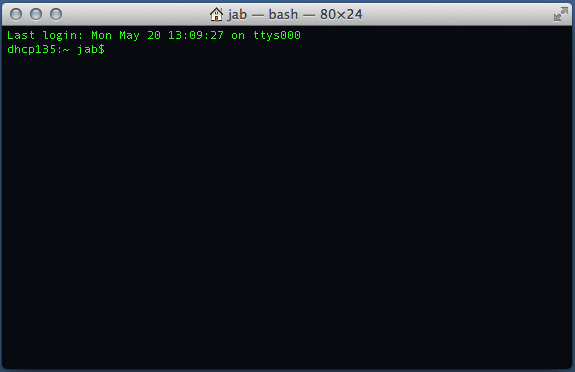
- You will use Terminal to run your CLI session here is how to open your Terminal
- Click on the Magnifying Glass in the upper right corner to open Spotlight/Search
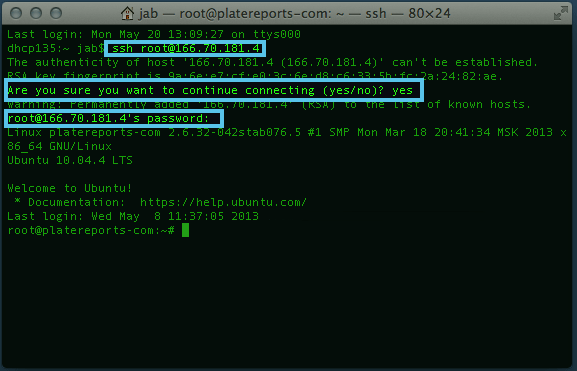
- Enter root@your-ip-address and click enter - click yes for the authenticity of host and then enter your password
NOTE your server password is different from your Hosting Control panel password
In this instance my username was root - yours will be different
