Difference between revisions of "DSL Actiontec 1520/1524 Setup"
From XMission Wiki
| Line 1: | Line 1: | ||
| + | {{archived}} | ||
| + | |||
#Launch the Autorun program from the install CD (if it does not AutoRun). | #Launch the Autorun program from the install CD (if it does not AutoRun). | ||
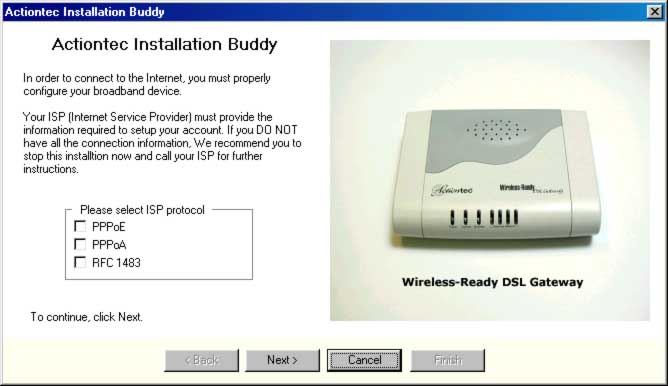
#Follow the instructions on the screen untill it asks you to select an ISP protocol. | #Follow the instructions on the screen untill it asks you to select an ISP protocol. | ||
Latest revision as of 13:46, 6 June 2019
- Launch the Autorun program from the install CD (if it does not AutoRun).
- Follow the instructions on the screen untill it asks you to select an ISP protocol.
- Select under .
- Click .
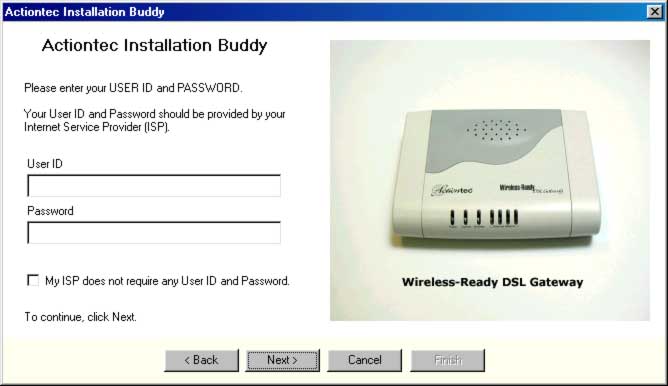
- Type your XMission username under .
- Type your XMission password under .
- Click .
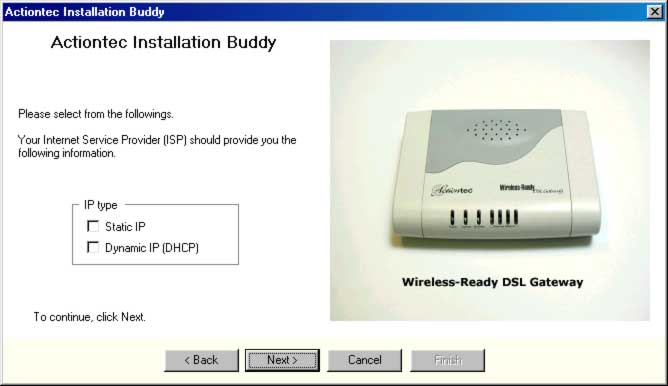
- Select .
- Click .
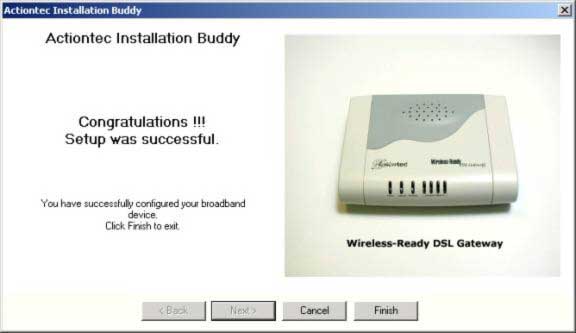
- Click .
Remember, if you ever change your XMission password, you'll need to update your password in the Actiontec] as well. If you purchased a multiple IP block, you may configure it now


