Difference between revisions of "Hosted Email:Outlook Exchange on Mac"
From XMission Wiki
| Line 1: | Line 1: | ||
| + | This article addresses how to configure Outlook for Mac with your [https://xmission.com/email Zimbra Premium] account. | ||
| + | |||
| + | NOTE: The Outlook for Mac functionality requires additional licensing to be activated and billed for. To activate simply [https://xmission.com/contact contact XMission] and ask the agent to add the feature to the account. | ||
| + | |||
1. Open up Outlook on your Mac computer. | 1. Open up Outlook on your Mac computer. | ||
:[[File:MacExchangeStep1.png]] | :[[File:MacExchangeStep1.png]] | ||
Revision as of 11:44, 15 July 2015
This article addresses how to configure Outlook for Mac with your Zimbra Premium account.
NOTE: The Outlook for Mac functionality requires additional licensing to be activated and billed for. To activate simply contact XMission and ask the agent to add the feature to the account.
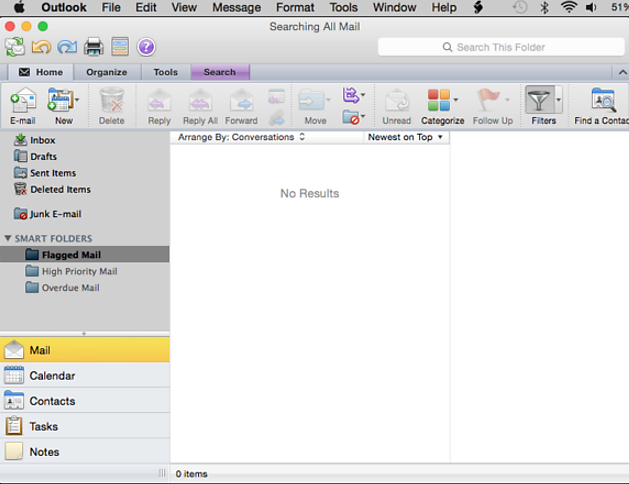
1. Open up Outlook on your Mac computer.
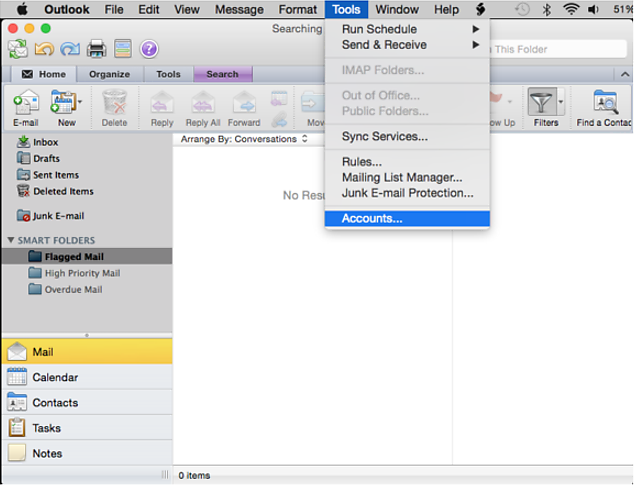
2. Click on "Tools" and click on "Accounts...".
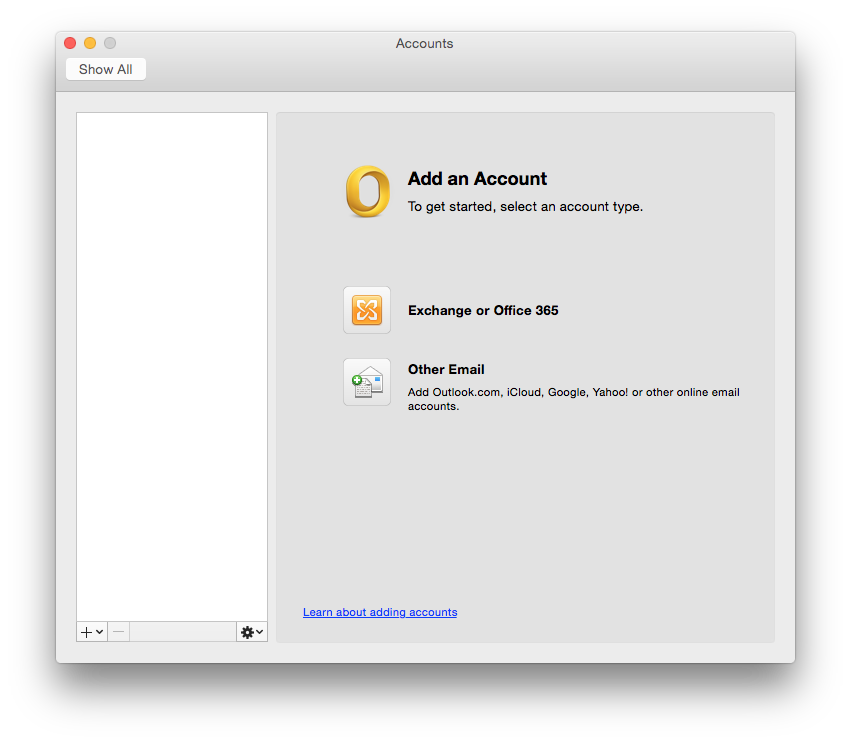
3. In the window that opens, click on "Exchange or Office 365".
4. The next windows ask for the account information. Fill in your information accordingly, just like the image below. Make sure that "Configure Automatically" is unchecked, the server field won't show until you do. When you're finished, click "Add Account" and you're finished!


