Difference between revisions of "Outlook XP Setup"
From XMission Wiki
m |
|||
| Line 1: | Line 1: | ||
| − | |||
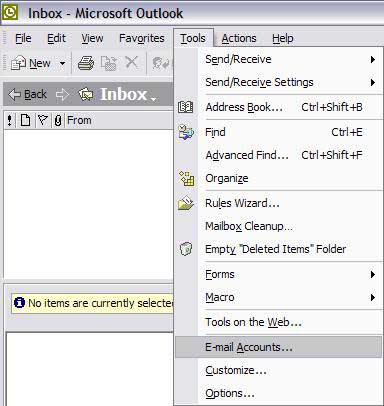
#Click on <span class="button">Tools</span> and select <span class="button">Email Accounts</span>. | #Click on <span class="button">Tools</span> and select <span class="button">Email Accounts</span>. | ||
| − | #: | + | #[[Image:Winolxp1.jpg]] |
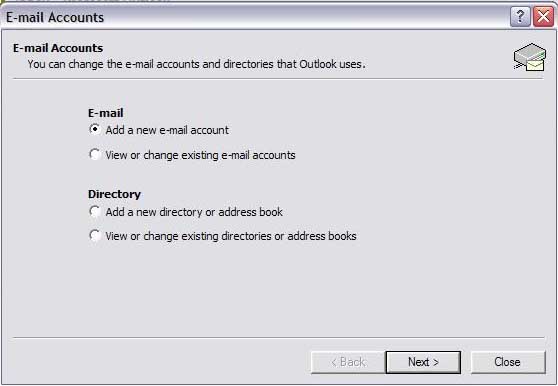
#Select <span class="button">Add a new email account</span>. | #Select <span class="button">Add a new email account</span>. | ||
#Click <span class="button">Next</span>. | #Click <span class="button">Next</span>. | ||
| − | #: | + | #[[Image:Winolxp2.jpg]] |
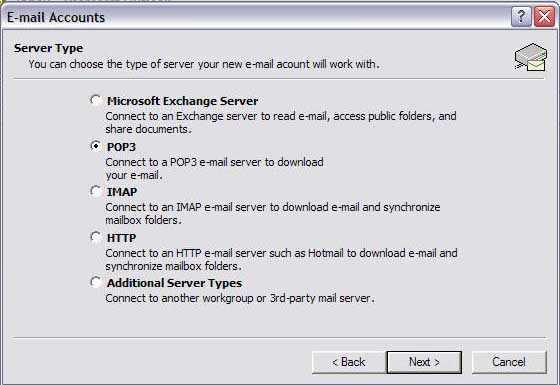
#Select <span class="button">POP3</span>. | #Select <span class="button">POP3</span>. | ||
#Click <span class="button">Next</span>. | #Click <span class="button">Next</span>. | ||
| − | #: | + | #[[Image:Winolxp3.jpg]] |
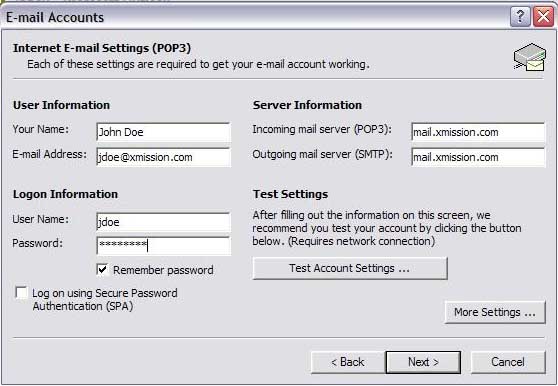
#In the field labeled <span class="button">Your Name:</span>, type in the name you wish to appear on your outgoing email messages. | #In the field labeled <span class="button">Your Name:</span>, type in the name you wish to appear on your outgoing email messages. | ||
#In the field labeled <span class="button">Email Address</span>, type your XMission email address. | #In the field labeled <span class="button">Email Address</span>, type your XMission email address. | ||
| Line 15: | Line 14: | ||
#In the <span class="button">Password:</span> field, enter your password. If you'd like Outlook to remember your password, check <span class="button">Rememebr password</span> | #In the <span class="button">Password:</span> field, enter your password. If you'd like Outlook to remember your password, check <span class="button">Rememebr password</span> | ||
#Click <span class="button">Next</span>. | #Click <span class="button">Next</span>. | ||
| − | #: | + | #[[Image:Winolxp4.jpg]] |
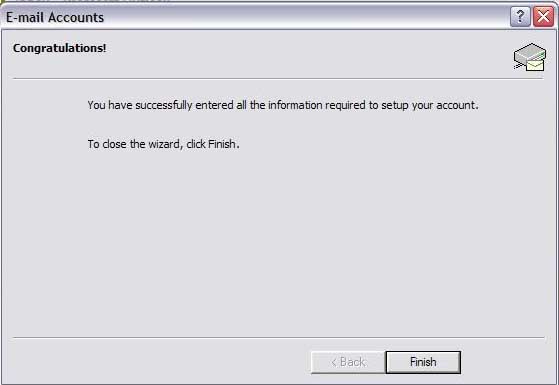
#Click <span class="button">Finish</span>. | #Click <span class="button">Finish</span>. | ||
| − | #: | + | #[[Image:Winolxp7.jpg]] |
Congratulations! You should now see your Inbox. You're ready to start sending and receiving email. | Congratulations! You should now see your Inbox. You're ready to start sending and receiving email. | ||
[[Category:XMission Email Archives|Outlook XP]] | [[Category:XMission Email Archives|Outlook XP]] | ||
| − | |||
| − | |||
| − | |||
Revision as of 12:11, 19 May 2009
- Click on and select .
- Select .
- Click .
- Select .
- Click .
- In the field labeled , type in the name you wish to appear on your outgoing email messages.
- In the field labeled , type your XMission email address.
- In the field labeled , type mail.xmission.com.
- In the field labeled , type mail.xmission.com.
- In the field, enter your XMission username.
- In the field, enter your password. If you'd like Outlook to remember your password, check
- Click .
- Click .


Congratulations! You should now see your Inbox. You're ready to start sending and receiving email.