Difference between revisions of "Ten Digit Dialing"
From XMission Wiki
m |
(test) |
||
| Line 7: | Line 7: | ||
#Click on your XMission Dialup Connection shortcut. | #Click on your XMission Dialup Connection shortcut. | ||
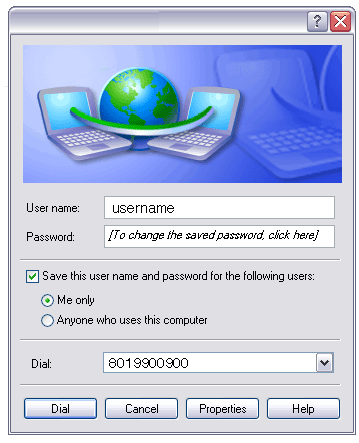
#In the "Dial" field, change the number to include your area code before the number you currently dial to connect to XMission, then click the "Dial" button. | #In the "Dial" field, change the number to include your area code before the number you currently dial to connect to XMission, then click the "Dial" button. | ||
| − | #:[[Image:Xmdialupafter.png]] | + | #:[[Image:Xmdialupafter.png|link=]] |
#When prompted to make the change permanent, click "Yes". | #When prompted to make the change permanent, click "Yes". | ||
#:[[Image:Confirmvista.png]] | #:[[Image:Confirmvista.png]] | ||
Revision as of 17:16, 18 February 2009
Effective March 1st, 2009, you must include the area code when dialing local numbers. This will impact customers using dial-up which is why we have provided simple instructions below for how to make this change to your existing dial-up connection.
For a list of all XMission Dial-up numbers, please visit XMission Dial-up Numbers
Windows Vista & XP
- Click on your XMission Dialup Connection shortcut.
- In the "Dial" field, change the number to include your area code before the number you currently dial to connect to XMission, then click the "Dial" button.
- When prompted to make the change permanent, click "Yes".

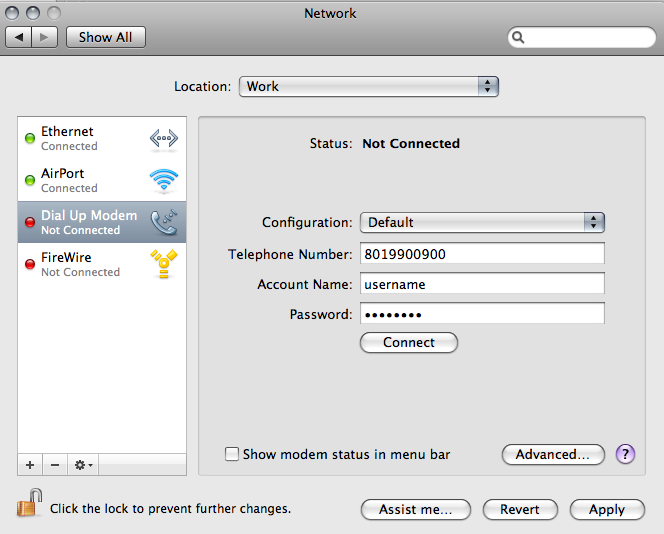
MacOSX
- From the Apple Menu select "Location" then "Network Preferences".
- Select your Dial-up Modem from the list on the left.
- In the "Telephone Number" field, change the number to reflect your area code before the number you currently dial to connect to XMission, then click the "Apply" button.