Windows XP Setup
From XMission Wiki
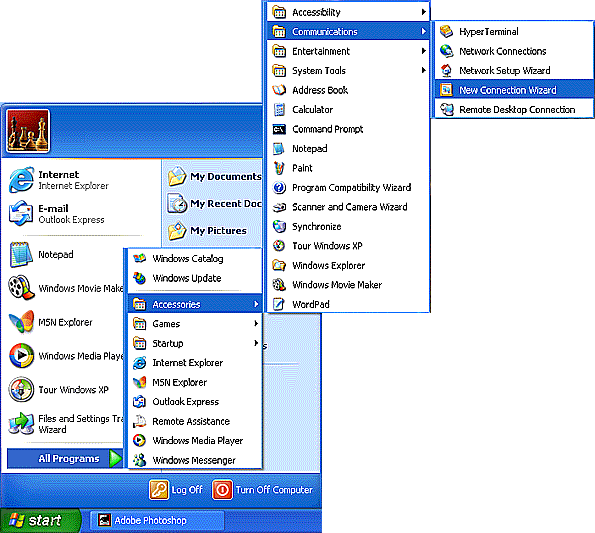
- Click on the button, go to , , , and select .
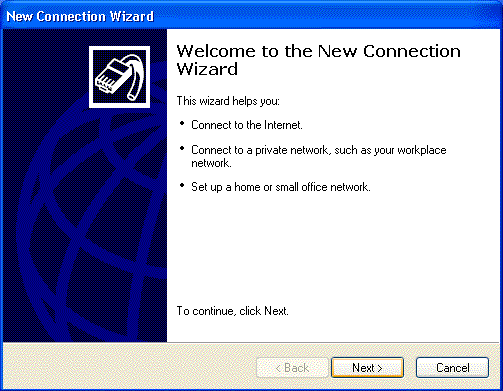
- On the screen, click .
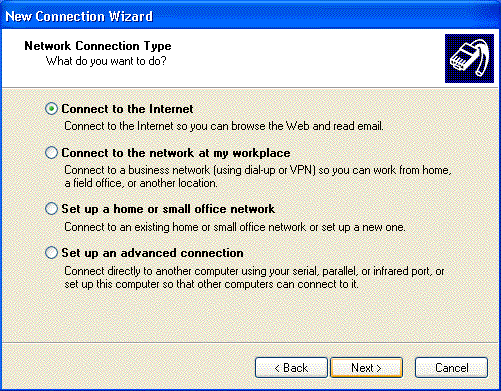
- Select .
- Click .
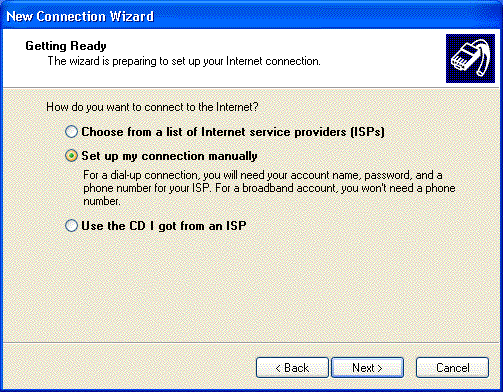
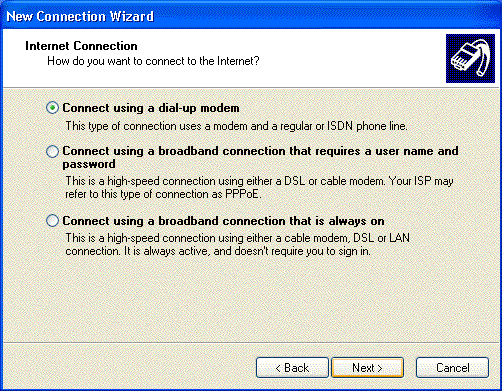
- Select .
- Click .
- Select .
- Click .
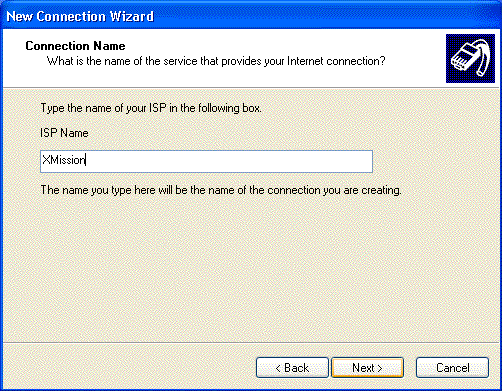
- In the field labeled , type in XMission.
- Click .
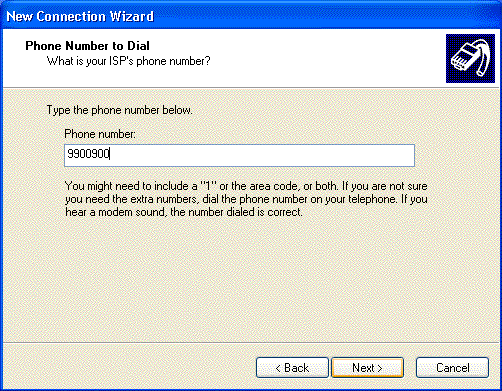
- In the field labeled , enter your local XMission access number.
- Click .
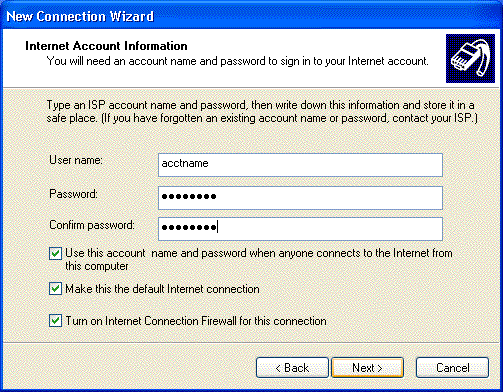
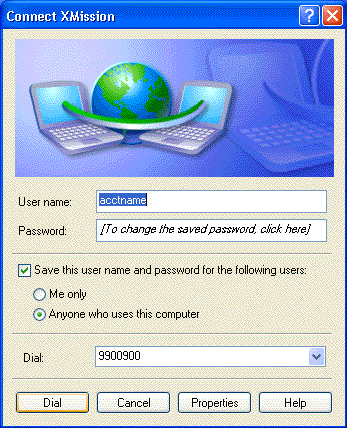
- In the field labeled , enter your XMission username
- In the field labeled , enter your password.
- In the field labeled , enter your password again.
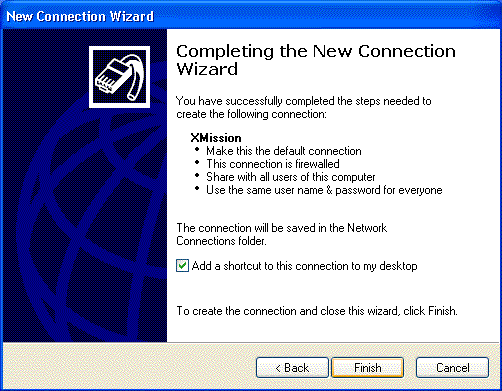
- Click .
- If you'd like a shortcut added to your desktop, click and click .
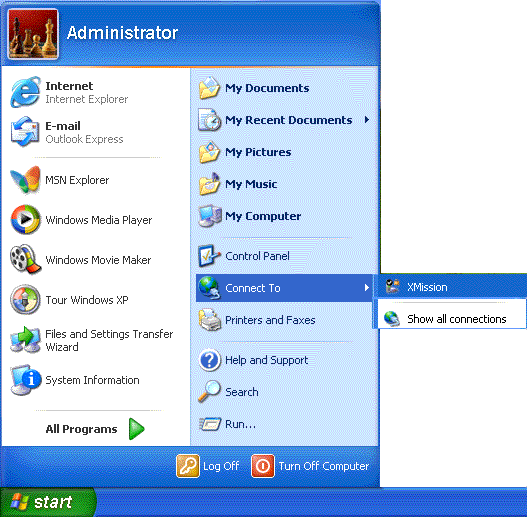
- Click , go to , and select . (You can also double-click the icon on your desktop if you chose to add it.)
- Click the button.
- Click on the tab.
- If isn't highlighted, click once to highlight it and then click on the button.
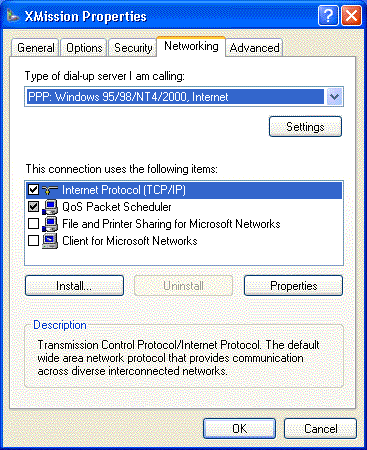
- Select .
- In the space provided next to , enter 198.60.22.2
- In the space provided next to , enter 198.60.22.22
- Click , then again.
- Click to connect.


