Mail 1.2 Setup
Jump to navigation
Jump to search
![]()
- Open your hard drive icon.
- Double-click on .
- Open .
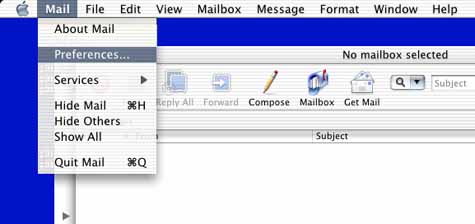
- Click on and select .
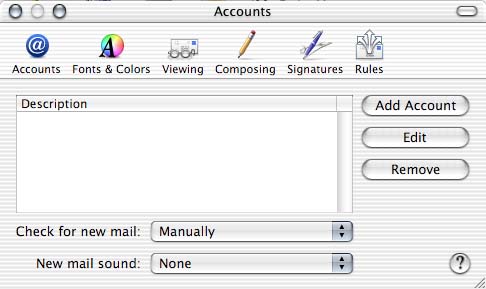
- Click on .
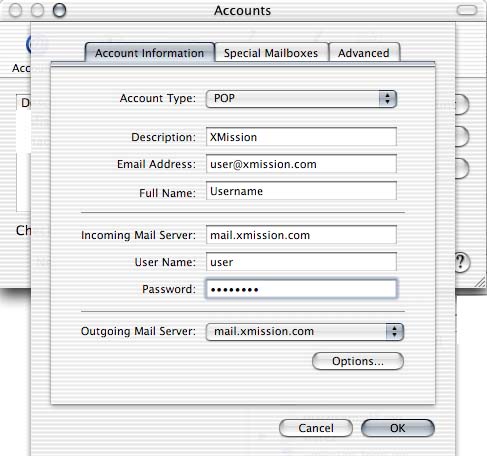
- Next to , select .
- In the field, enter XMission.
- In the field, enter your XMission email address.
- In the field, enter the name that you would like to appear on your outgoing messages. (e.g.: John Doe or Johnny D.)
- In the field, enter mail.xmission.com.
- In the field, enter your XMission username.
- In the password field, enter your XMission password.
- In the field, enter mail.xmission.com.
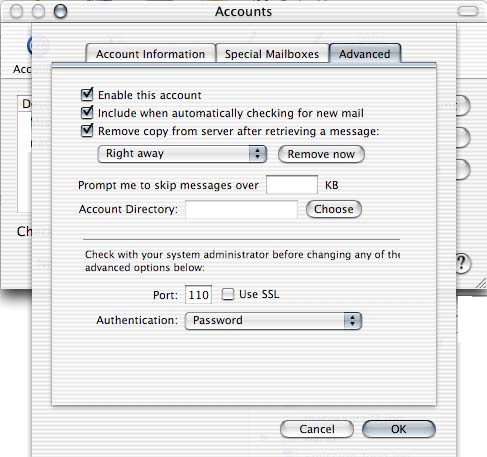
- In the tab at the top of the window.
- Make sure that there is a check mark next to and select "Right away" from the list menu.
- Click on .