Getting Started
Start by downloading the XWi Home app either from
After you have downloaded the app, tap on the app's icon.
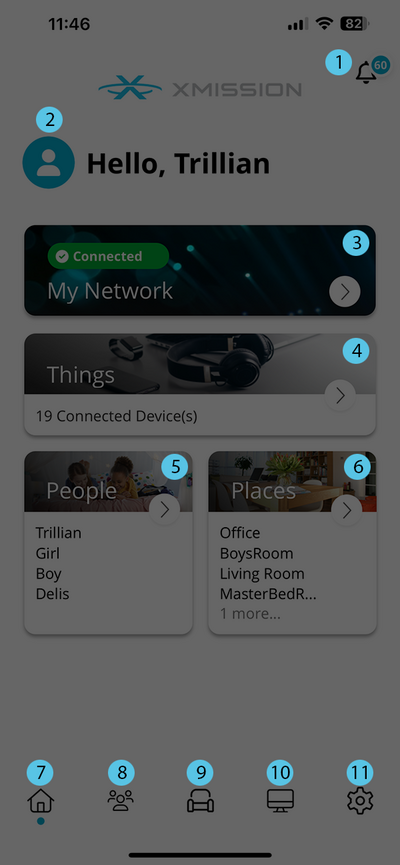
Dashboard
|
- Notifications: This will allow you to see any system-generated push notification alerts.
- Profile: You can tap on the profile icon to edit your profile. This allows you to edit:
- Avatar image
- Your name
- Your email address
- Your password.
- My Network: This provides the status of your router (gateway) on your network. Tapping on this gives you access to:
- Edit your wireless networks
- View the gateway and any mesh units
- View the services installed (XWi Protect, XWi Experience)
- Usage
- Bandwith tests
- Network map
- Security
- Priorities
- Default restrictions
- Things: Tap to view a list of all devices on you network. You can tap an individual device to change the network priority and network path information. All devices are placed into category types that make it easier to access how each is connected to your network. Tapping on any of the devices provides you a much more detailed view of the usage.
- People: This will display any people that you have setup on your network and all the devices you have assigned to them. You have the ability to Pause the internet for all the devices you have assigned to individual people. Tapping on each individual will give you detailed information regarding usage. You also have the ability to set Time Limits and Restrictions.
- Places: Like People you can set up Places or rooms around your home and assign the devices to those places. This will give you a quick overview of the devices you have in specific areas.
Bottom Menu
- Home: Tap this to return you to the home screen.
- People: Tap this to view the people screen.
- Places: Tap this view the places screen.
- Things: Tap this to view the things screen.
- Settings: Tap this to view account settings including:
- Account and Admins: You can change the name of your profile from here including your email address and password. You can also add an additional admin to the account.
- Set Passcode: Here you can set up a PIN in lieu of an app login password
- Language: You can change the language to German, Spanish, French or default English
- Alerts: Here you can turn on/off push notifications
- Terms & Conditions: Read our Terms and Conditions
- Privacy Policy: Read our Privacy Policy
- Contact Support: Gives you our details on how to reach XMission.
- About: Gives you the version of the app that you are using
- Log out: Allows you to log out of the app.
|
Setting Up WiFi
Your XWi Home comes pre-installed with a wireless network. The information is listed on the bottom of your router. You may also notice a network starting with CXNK in your WiFi list.
With the XWi Home app you have the ability to create additional networks, rename your networks, and update passwords.
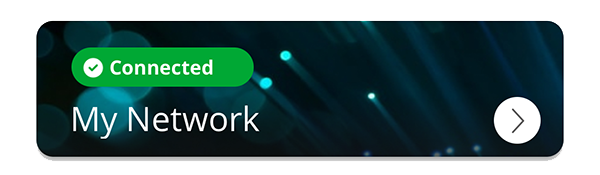
First tap on My Network
Next, we will see the following:
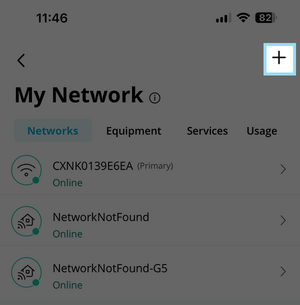
- Tap on the + in the upper right
|
|
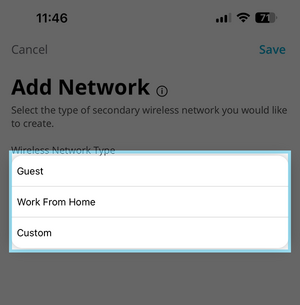
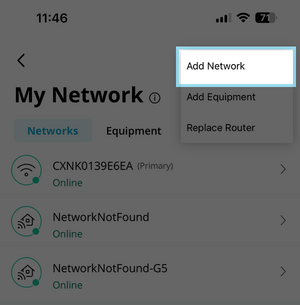
- Finally choose from one of the following
- Guest
- Work From Home
- Custom
|
- A Guest Network allows your friends and family temporary access to the Internet. Guest Networks are isolated and prevent access to any other devices connected to your primary network
- A Work From Home network allows a limited number of devices that require high-priority access to the Internet. Work From Home networks are isolated and prevent access to any other devices connected to your primary network.
- A Custom network allows for the most flexible configuration to best fit your Internet access needs.
We will be setting up a Custom network, however you can follow the steps for any network you choose.
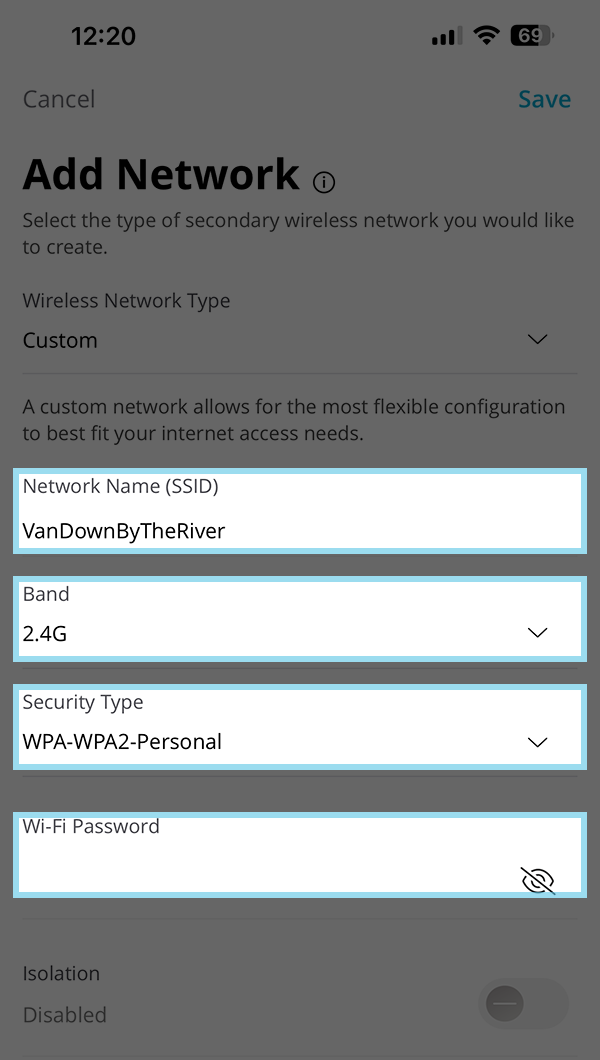
Choose Custom when setting up the network and you should see the following:
|
In this Add Network page we can setup the following:
- Network Name: Give your network a name that you can remember and is easy for everyone in your home to understand.
- Band: Here. you have an option of setting up a 2.4GHz or 5GHz network. We will start by choosing 2.4G, you can repeat these steps to setup a 5GHz network.
- Security Type: Here are your options
- None: Not Recommended
- WPA2-Personal
- WPA - WPA2-Personal
- WPA2 - WPA3-Personal
- WPA3-Personal
- Password
What do these mean?
- WPA (Wi-Fi Protected Access): This provides stronger data encryption through TKIP (Temporal Key Integrity Protocol) but is considered outdated and less secure than its successors.
- WPA2-Personal (Wi-Fi Protected Access 2): This uses a pre-shared key (PSK), which is a password that you set up on your router. Every device that connects to the network needs to use this same password.
- WPA3-Personal (Wi-Fi Protected Access 3): Like WPA2-Personal, this uses a pre-shared key (password) for access. However, this type enhances security with a feature called SAE (Simultaneous Authentication of Equals), which provides better protection against password-guessing attacks.
Do I need isolation turned on?
- Wi-Fi isolation is a security feature that prevents devices connected to the same WiFi network from communicating with each other. When enabled, this feature ensures that each device on the WiFi network can only communicate with the router and not with other devices on the same network. This is particularly useful in environments like public WiFi hotspots, where you want to prevent users from accessing or potentially hacking into each other's devices.
|
Finally, you are able to share your network across other devices by sharing your WiFi login information.
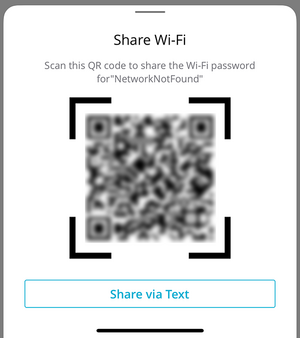
- Once selected, a QR code will appear that users can scan. You can also send users a text.
Parental Controls
Parental Controls


