Zimbra IPhone Push Configuration
Jump to navigation
Jump to search
This article covers using ActiveSync with iOS devices. This is for customers with the Zimbra Business Professional (Premium) mailbox, Zimbra Personal Premium @xmission.com mailbox, XMission.com Personal Email w/Zimbra ActiveSync mailbox, or Consumer Edition w/ ActiveSync ISP email account.
- Press the
 home button, tap on the
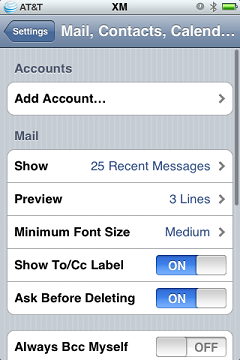
  Settings icon and then tap on the Mail, Contacts, Calendars option.
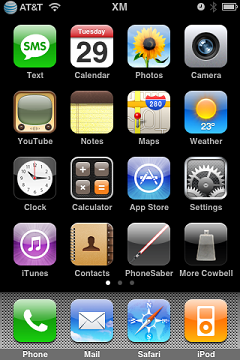

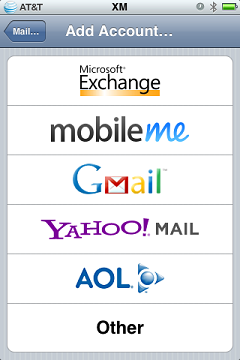
- Tap Add Account. Under the Add Account menu, tap Microsoft Exchange.
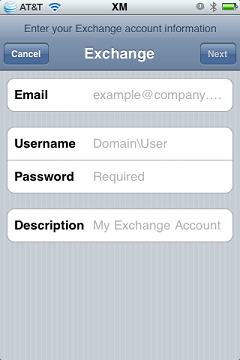
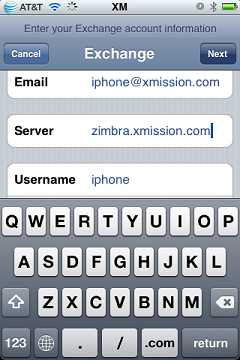
- Enter in the requested information. In the Username field you will put in your full email address. Enter whatever you wish for the Description. When you fill in these 4 fields tap on Next. The phone will display a new Server field. Enter zimbra.xmission.com in that field. Tap Next again when you're done.
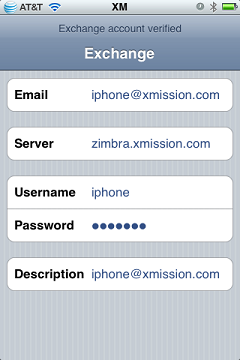
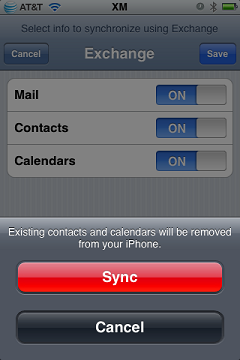
- If the information was entered correctly you will see Exchange account verified at the top of the screen followed by a secreen that says Select info to synchronize using Exchange at the top.
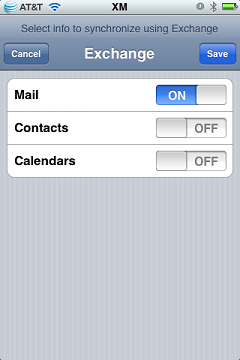
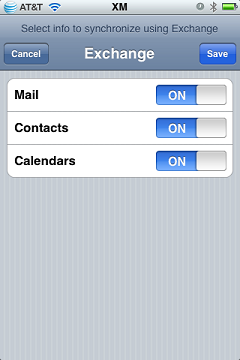
- In this window you will select which zimbra items you wish to sync with your iphone. Mail is enabled by default but you can also synchronize your contacts and calendar as well. Enabling the calendars and contacts sync will overwite your existing calendar and contact entries on your iphone!! Tap Next when you're finished.


Congratulations! You're now ready to send/receive emails using your Zimbra hosted email account. If you have email in your hosted email account, it should be shown on your phone shortly.