Difference between revisions of "Managing MySQL"
From XMission Wiki
| Line 25: | Line 25: | ||
Once the ''Webadmin'' button is no longer grayed out, click on it to access phpmyadmin as seen below. | Once the ''Webadmin'' button is no longer grayed out, click on it to access phpmyadmin as seen below. | ||
| + | |||
[[File:Phpymyadmin.png]] | [[File:Phpymyadmin.png]] | ||
Revision as of 12:56, 23 April 2012
Plesk Unlimited Hosting: Managing MySQL
XMission's Unlimited Hosting powered by Plesk has phpmyadmin essentially built right into it!
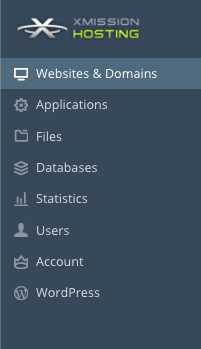
- From the Control Panel, click on the "Domains & Websites" tab near the top of the screen.
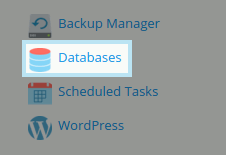
- Near the bottom of the screen, click the button labeled "Databases."
- On the next screen, you will see any existing databases listed near the bottom of the screen. To manage/modify one, simply click the database name. In this case, the example database would be example_user_example_database.
- Now, you should see the screen below. If the Webadmin button' is grayed out, you will need to create a new user using the corresponding "Add New Database User" button.
If you had to create a new user, you will see the following screen. Simply provide a unique username and password -- please choose a strong password -- for the user.

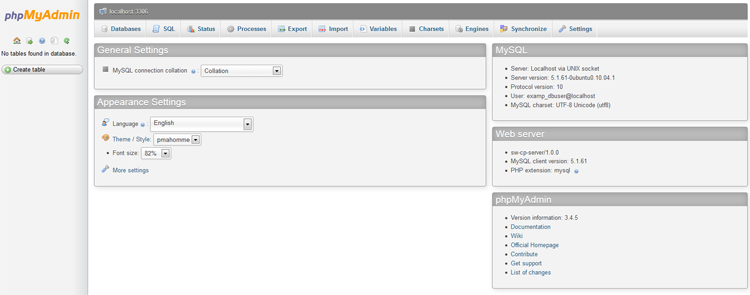
Once the Webadmin button is no longer grayed out, click on it to access phpmyadmin as seen below.
Continue onto....


