Difference between revisions of "XMission Email:Thunderbird Current"
From XMission Wiki
(→Most Current Version) |
(→Most Current Version) |
||
| Line 21: | Line 21: | ||
* You will see the following screen: | * You will see the following screen: | ||
[[File:Tb-current-05.png]] | [[File:Tb-current-05.png]] | ||
| + | * The following is set up using our '''Recommended Settings''' | ||
* Incoming server | * Incoming server | ||
** IMAP - we recommend IMAP however you can choose POP3 | ** IMAP - we recommend IMAP however you can choose POP3 | ||
Revision as of 12:31, 18 November 2014
Most Current Version
For the most current version be sure to visit - https://www.mozilla.org/en-US/thunderbird/download
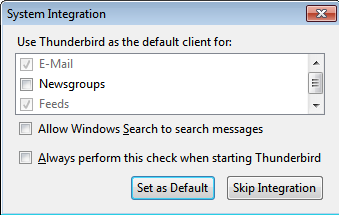
- Once you install Thunderbird it will launch. You may see the below image - if you want Thunderbird to be the default email application choose Set Default
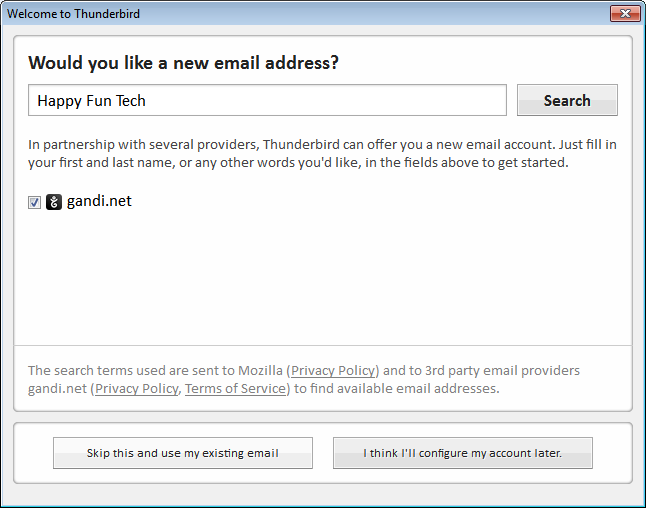
- Next you might see this screen here you should choose Skip this and use my existing email
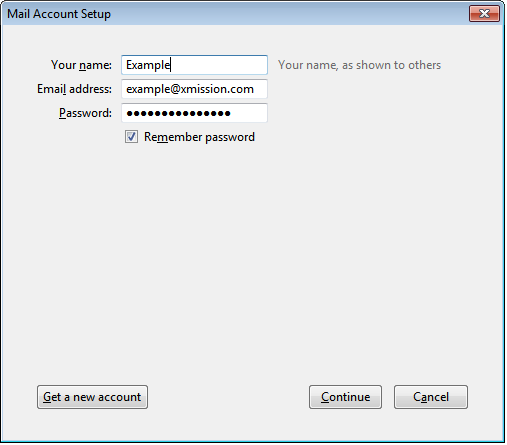
- Next enter your Name, Complete email address, and your Password. Be sure to check the box to Remember password
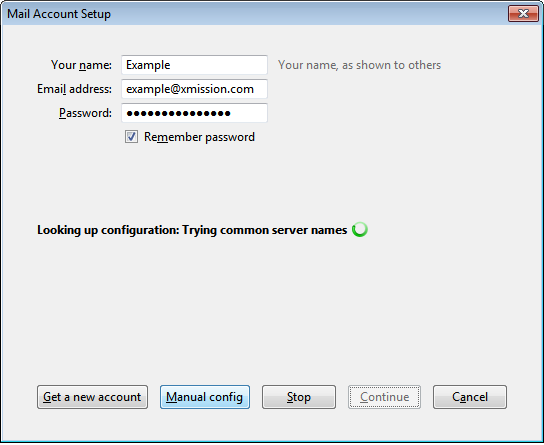
- After you click Continue you will see an option for Manual config click there to manually configure our setup.
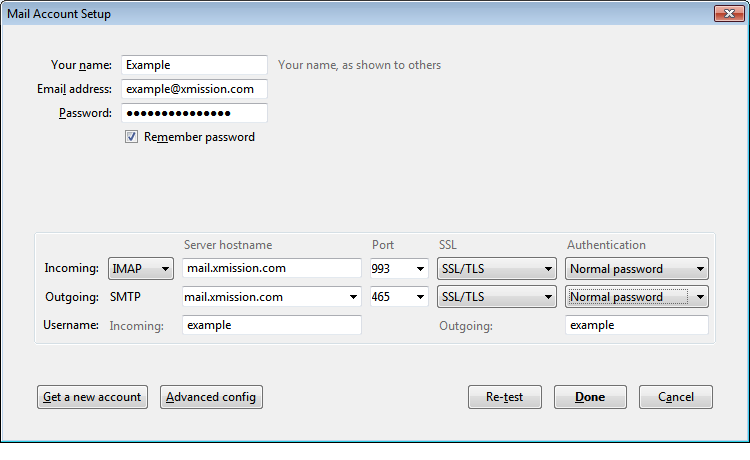
- You will see the following screen:
- The following is set up using our Recommended Settings
- Incoming server
- IMAP - we recommend IMAP however you can choose POP3
- Server hostname - mail.xmission.com
- Port - 993
- SSL - SSL/TLS
- Authentication - Normal Password
- Outgoing server
- SMTP - This cannot be changed
- Server hostname - mail.xmission.com
- Port - 465
- SSL - SSL/TLS
- Authentication - Normal Password
- Username
- Incoming: - your email address without the @xmission.com
- Outgoing: - your email address without the @xmission.com
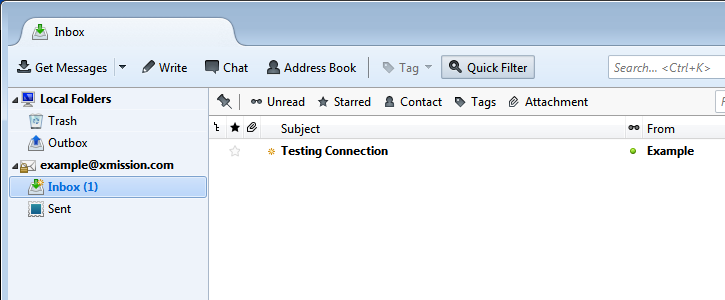
- Click on Done and you are now all set up - you can test by sending your self a test message.
