XMission Voice Portal
Logging in
Visit call.xmission.com to log into the voice portal
Here you will log in with your phone number and the password you set up from your initial email.
Home Tab
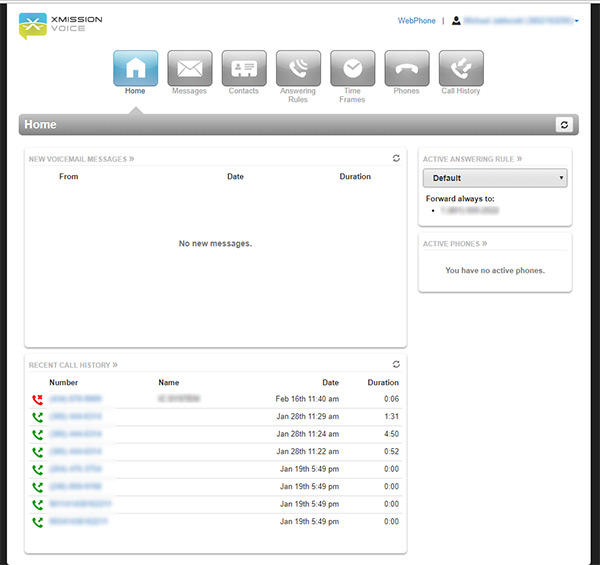
- Navigation bar will appear on top with areas of interest
- The home screen shows you an over view of recent activity
- Recent voicemail will appear on top
- Recent call history will appear below any voicemail
- Answering rules will appear on the right
Messages Tab
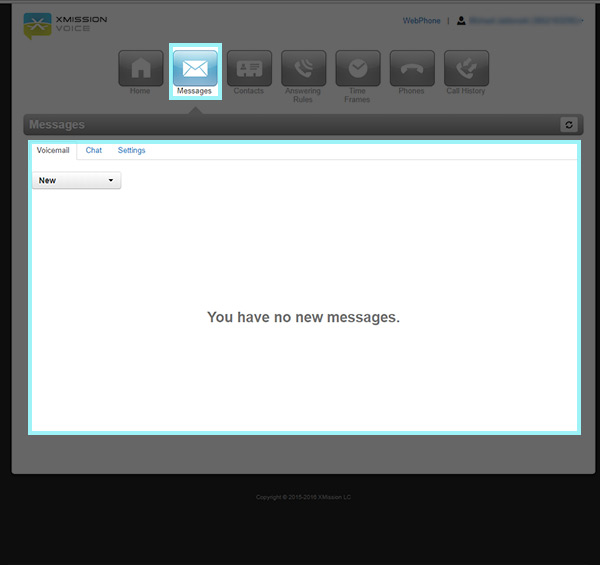
- Messages Tab will show you recent voicemail messages that you may have.
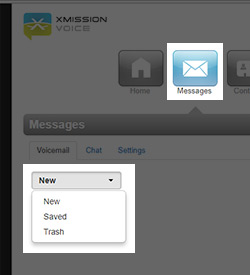
- You have the ability to change the type of message to display - New - Saved - Trash
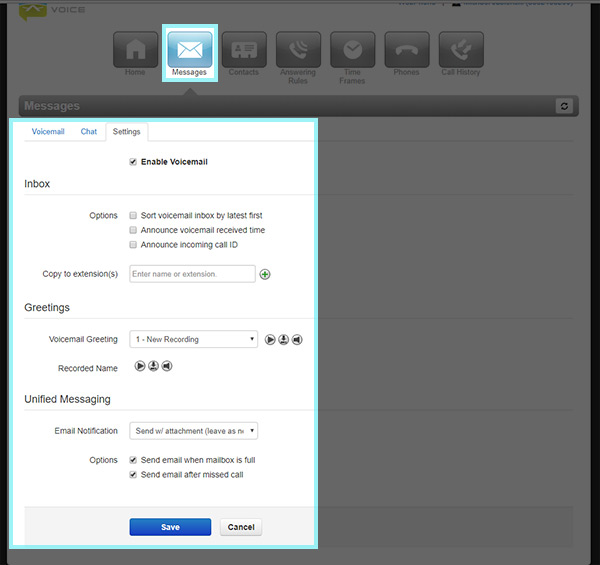
Voicemail Settings
Disable Voicemail
Here you can disable your voicemail by unchecking the Enable Voicemail option.
Greetings
- You can also update your Voicemail Greeting by selecting one from the drop down or recording a new one.
- You can also update your Recorded Name
Email Notifications
- You have the option to send email notifications by selecting the option you want from the drop down menu.
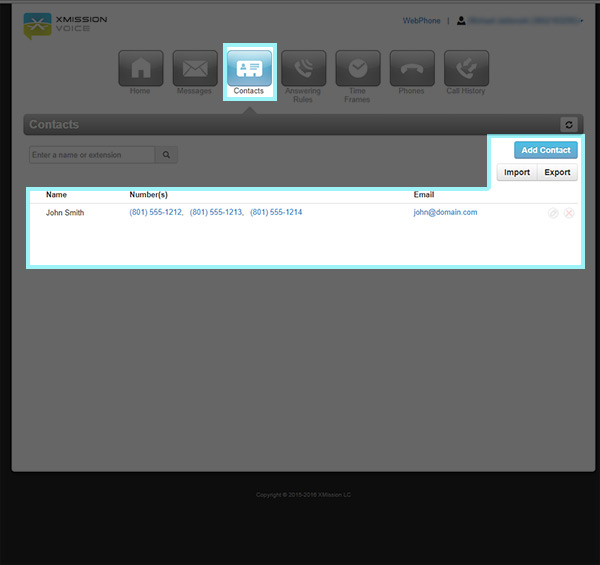
Contacts Tab
- This tab will show any contacts that you have setup or have received phone calls from and you have added to your contacts.
- To add a contact click the Add Contact Button
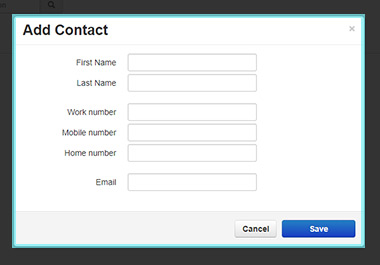
Add Contact
- Click on Add Contact from the Contacts tab
- Here you can add a contact by filling out the form. First Name, Last Name, Work, Mobile, Home numbers and email.
- Click on Save when you are done.
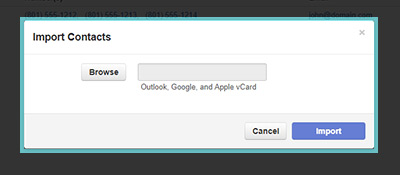
Import Contacts
- Click on Import from the Contacts tab
- Here you can browse your local machine for a Outlook CSV file, or Google or Apple vCards to import into your contact list.
Export Contacts
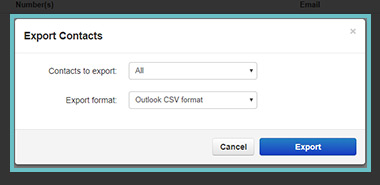
- Click on Export from the Contacts tab
- Here you can export your contact as a Outlook CSV format, or Google or Apple vCards
Answering Rules Tab
Adjust Ring Time
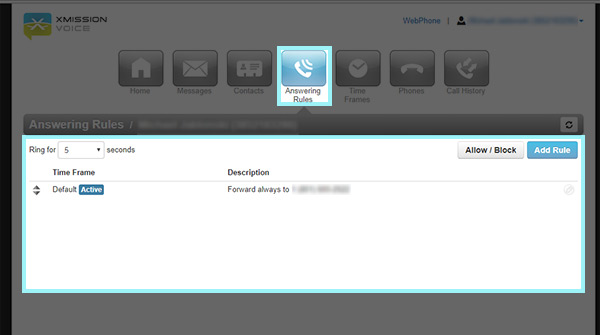
- Under the Answering Rules Tab you will see Ring for ? Seconds - You can adjust this to what ever fits your needs.
NOTE if you have disabled your voicemail and want your phone to ring enough times for your own voicemail to pick up. Make sure to adjust this to about 60 seconds. This will give the system enough time to ring for your voicemail to pickup.
- If you have disabled your voicemail and notice the phone rings and then disconnects before your voicemail picks up. You may need to adjust this setting.
Allow / Block Numbers
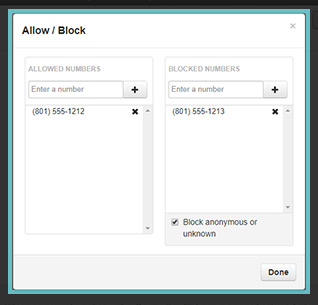
- Click on Allow / Block from the Answering Rules Tab
- The left side is for Allowed Numbers. Add a number then click the + sign to add a number to your allowed list
- The right side is for Blocked Numbers. Add a number then click the + sign to add a number to your blocked list.
- To automatically block Anonymous or unknown numbers place a check in the check box. Then click Done.
Time Frames Tab
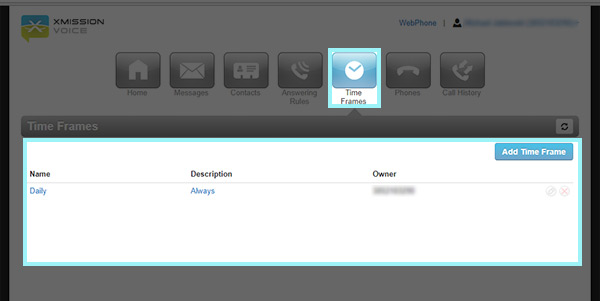
- This will display any answering rules you have set up.
Setting up a Time Frame
- Click Add Time Frame from the Time Frames Tab
- First you will need to give your Time Frame a name
- Next Select When:
Always
- This will perform your take all the time with no restrictions
- Click save when done
Days of the week and times
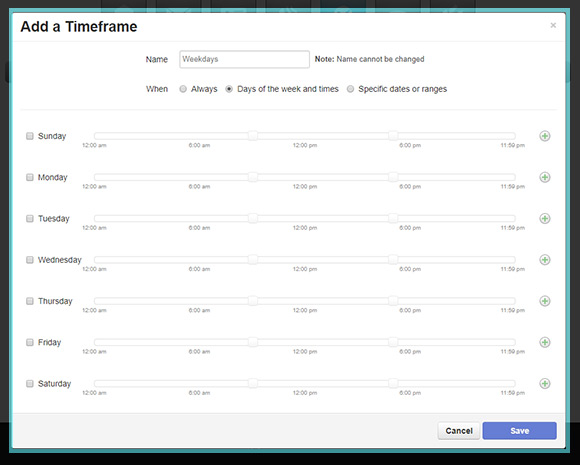
This will open up another window like below where you can select the days of the week and times.
Specific Dates or Ranges
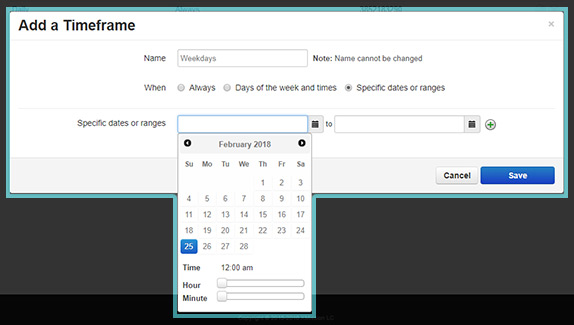
- This will allow you to select a specific date range to apply your call rules.
