PST to Zimbra Migration
Use a windows install (win7-10) and install Outlook (2007-2013).
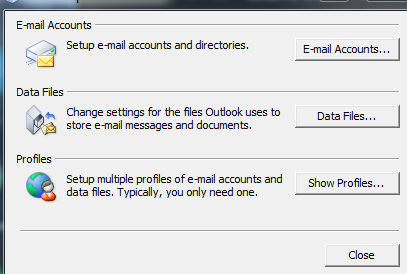
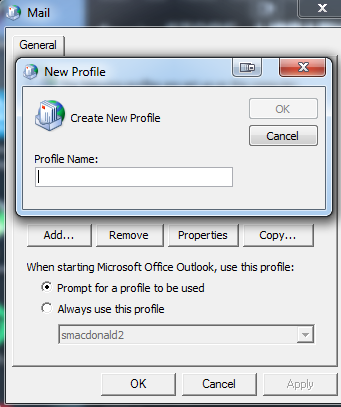
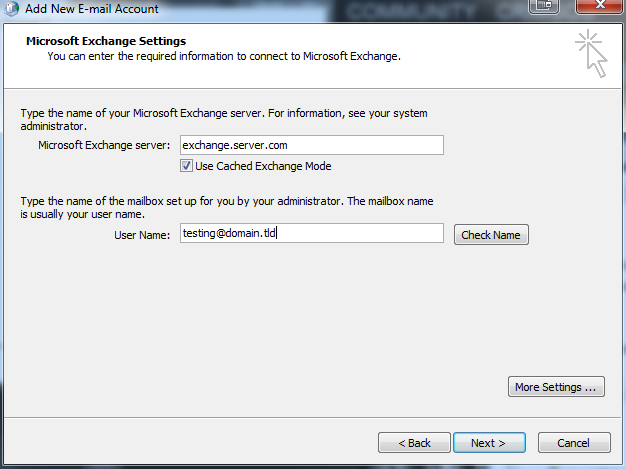
Add the Profile via the Mail app. You can get here by going to Control Panel -> search for "Mail". -> Click on "Mail 32/64bit".
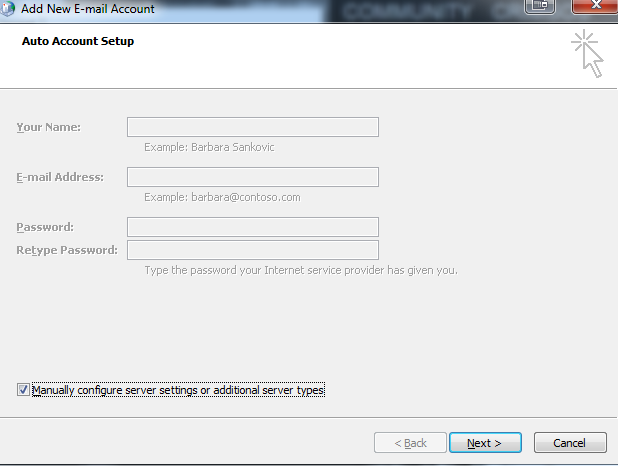
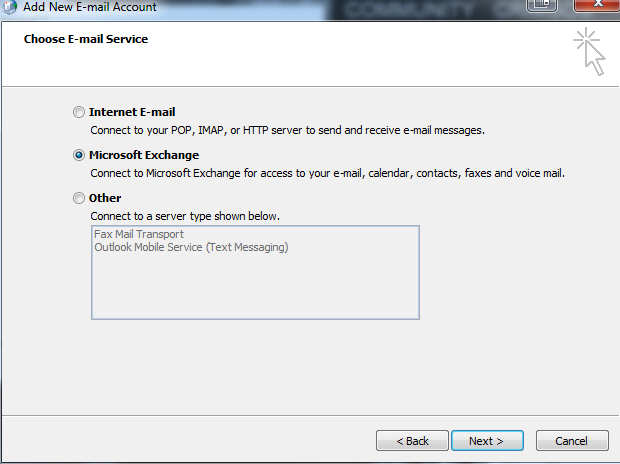
Add Profile
I suggest that you get in contact with the provider for any additional settings you may need to configure in the "More Settings ..." Menus.
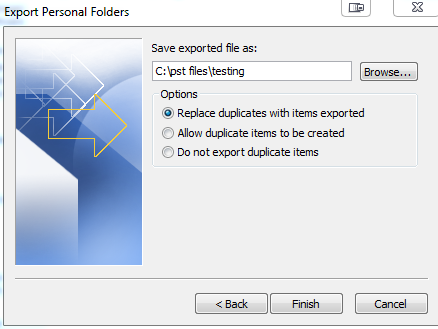
Export Mailbox
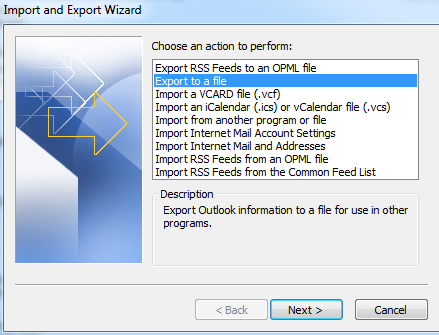
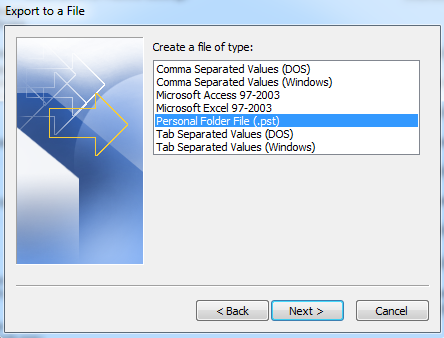
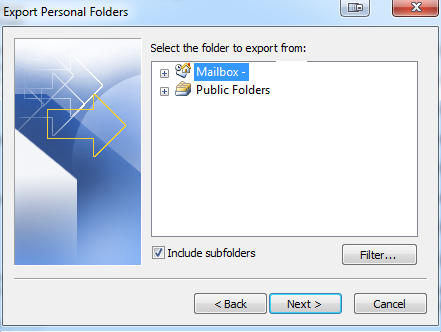
Open up Outlook, allow the account to fully download everything. We're going to export the mailbox to a .PST file.
For Outlook 2007, click on "File" Then click on "Import/Export".
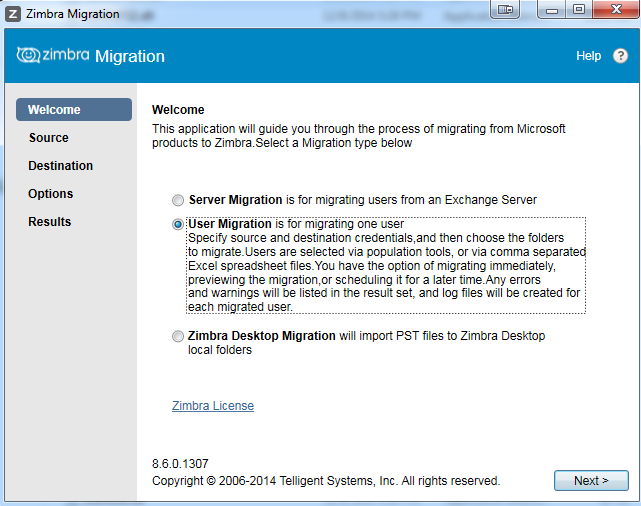
Zimbra Migration Wizard
Once exported, open up the migration wizard. Here is a link to the download: https://s3.amazonaws.com/files.zimbra.com/downloads/zmt/ZCSPSTImportWizard-8.7.1.1661.zip
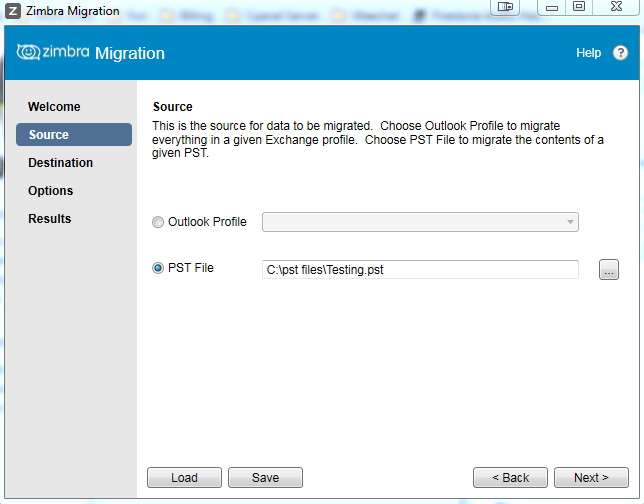
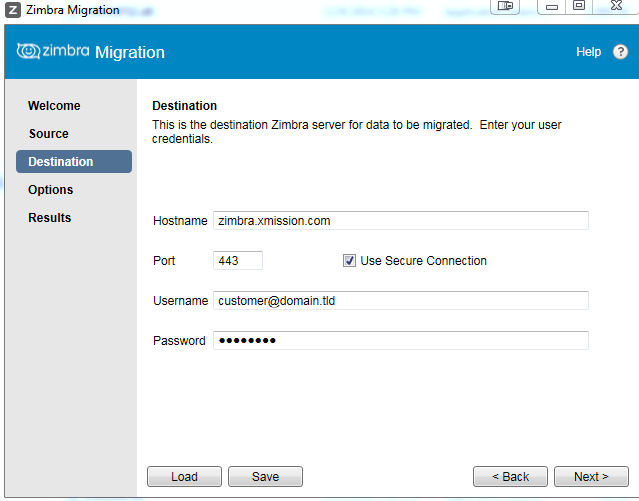
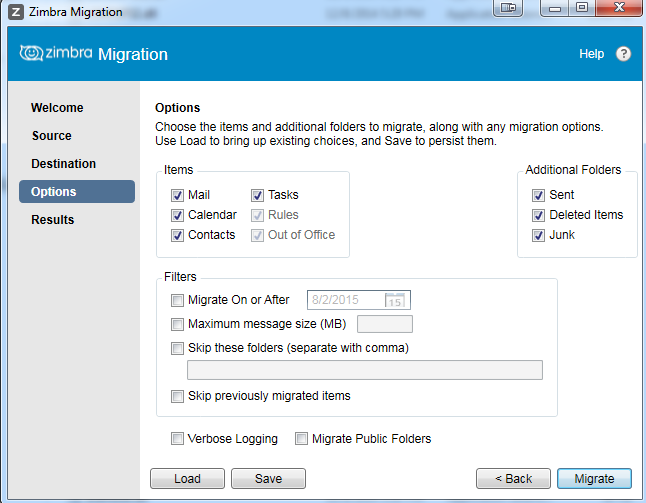
Once you have it installed, and have it open follow these steps to import the .pst file to Zimbra.
Click on "Migrate" and watch the magic happen. Once it finished check out the account and make sure the customer verifies everything looks correct. You can now remove the .pst and mail profile off your computer.
