Adding a Subdomain
Plesk Unlimited Hosting: Adding a Subdomain
You can create additional subdomains for use with any domains in your Unlimited Hosting account. First, ensure you are logged into your account at http://hosting.xmission.com.
- From the Control Panel, click on the "Websites & Domains" tab near the top of the screen.
- Near the bottom of the screen, click the "Add New Subdomain" button.
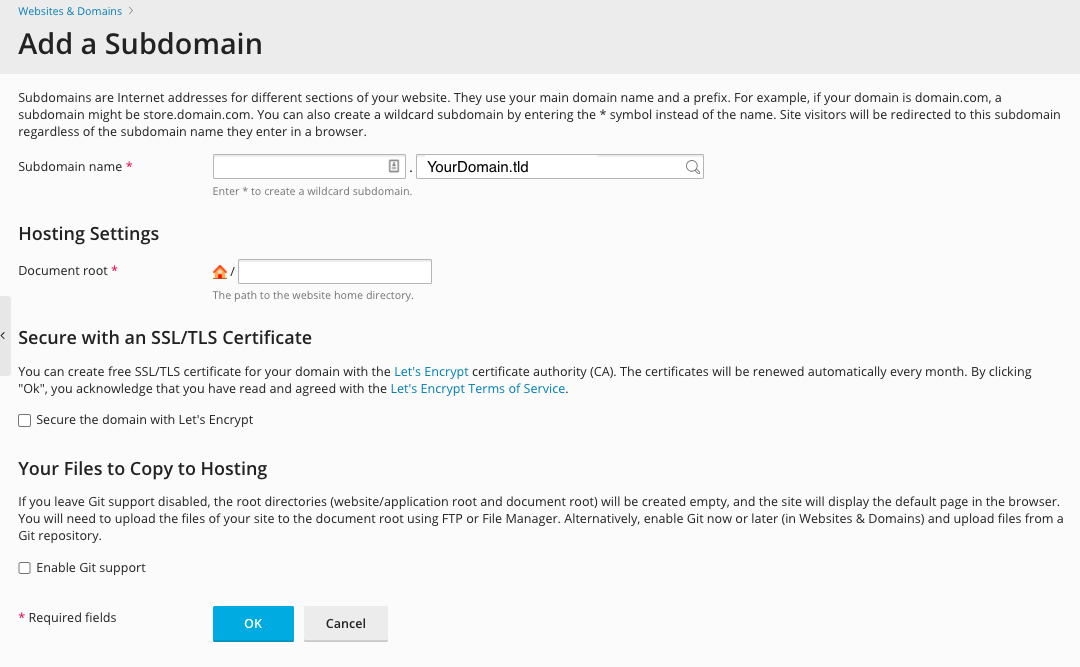
- On this screen, you will need to enter the following highlighted pieces of information. A brief description of each follows the image.
- Subdomain name: This is the name of your new subdomain. In this example, we would be adding the subdomain "example" which in this case would translate to "example.xdesign.com"
- Document root: This is the folder where you will build your new website. In this example, we have used "/subdomains/example."
Please note: It is highly recommended you create folders within the "/subdomains" directory to ensure your subdomain works correctly.
- Once you've entered the correct information for your new domain, simply click "OK." You will see the following text indicating your new domain has been created successfully!
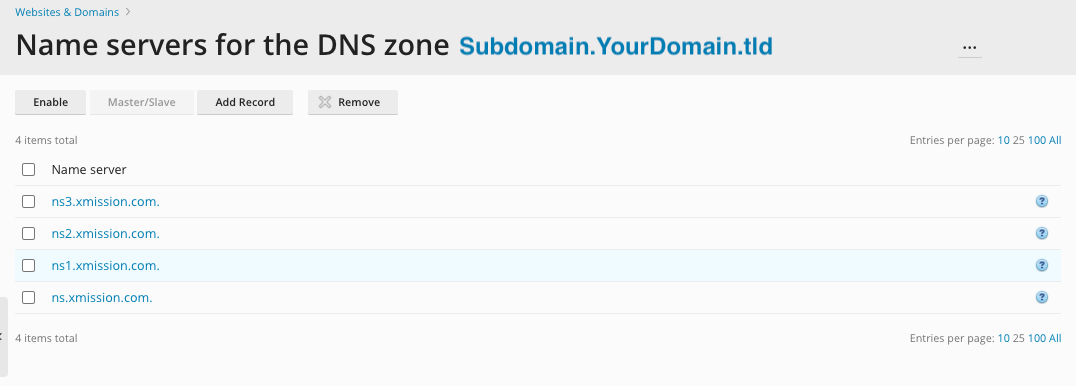
- Lastly, you will likely want to enable DNS for your new subdomain. To do so, ensure you have returned to the "Domains & Websites" tab and then click "DNS Settings" as indicated below:
- Click the "Manage" link beside the subdomain you just created. In this example, we would be using "wp.xdesign.com."
- Then, simply click the button labeled "Switch on the DNS Service."
Continue on to...


