Administration/Logging in: Difference between revisions
No edit summary |
|||
| (9 intermediate revisions by 2 users not shown) | |||
| Line 1: | Line 1: | ||
= Plesk Shared Hosting: Administration & Logging in = | |||
Once you've completed your order for Shared Web Hosting, you can access the Administration login at the | Once you've completed your order for Shared Web Hosting, you can access the Administration login at the [http://hosting.xmission.com/ Plesk Control panel.] The Control Panel offers many powerful options to control your website. The most commonly used are [[PHP Settings]], [[Adding/Managing DNS Records | DNS Settings]], and Logs. | ||
=== Cookies === | |||
Cookies are required to be enabled as it allows the XMission/Plesk's Control panel to function properly in regards to: security, network management and accessibility. If you are being prompted to accept cookies, please click "Accept All Cookies" for the best experience. | |||
[[File:Hosting XM Cookies.png|600px]] | |||
=== Log in === | |||
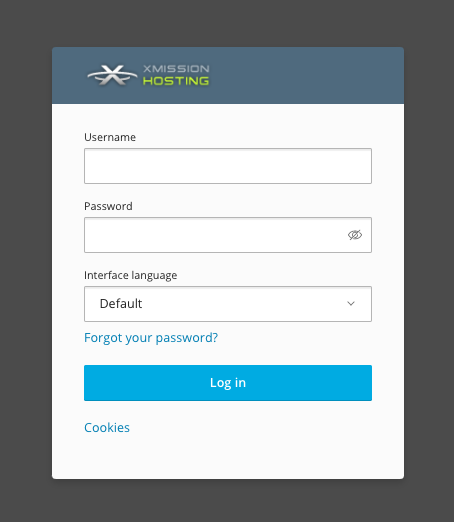
The initial set of login credentials will be provided at time of purchase. After logging in it is possible to create sub-users with similar or limited access with their own email address for the Forgot Password option. For more details please see our [[Managing_Domain/Users]] page. If needed, our tech support can assist with any issues. | |||
[[File: | [[File:Plesk main login.png|600px]] | ||
== Dashboard == | |||
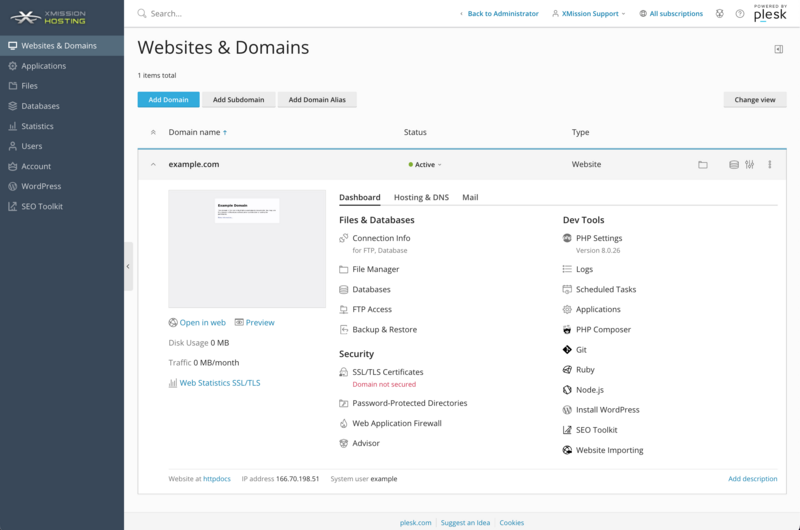
Once logged in, you should find yourself at your "Websites and Domains" tab within the Control Panel, as seen below: | |||
[[File:Plesk_main_interface.png|800px]] | |||
{{:Shared_Hosting}} | {{:Shared_Hosting}} | ||
[[Category:Shared Hosting|Administration Logging in]] | [[Category:Shared Hosting|Administration Logging in]] | ||
Latest revision as of 14:07, 29 June 2020
Once you've completed your order for Shared Web Hosting, you can access the Administration login at the Plesk Control panel. The Control Panel offers many powerful options to control your website. The most commonly used are PHP Settings, DNS Settings, and Logs.
Cookies
Cookies are required to be enabled as it allows the XMission/Plesk's Control panel to function properly in regards to: security, network management and accessibility. If you are being prompted to accept cookies, please click "Accept All Cookies" for the best experience.
Log in
The initial set of login credentials will be provided at time of purchase. After logging in it is possible to create sub-users with similar or limited access with their own email address for the Forgot Password option. For more details please see our Managing_Domain/Users page. If needed, our tech support can assist with any issues.
Dashboard
Once logged in, you should find yourself at your "Websites and Domains" tab within the Control Panel, as seen below:
- Administration/Logging in
- Adding a Domain
- Adding MySQL Databases
- Adding/Managing DNS Records
- Managing Domain/Users
- Managing FTP Access/Users
- PHP Settings
- Previewing the Website
- Secure Your Sites
- Web Statistics
Additional Development Help
Applications
Domain Management


