Difference between revisions of "Adding/Managing DNS Records"
From XMission Wiki
(→Plesk Unlimited Hosting: Adding/Managing DNS Records) |
|||
| Line 27: | Line 27: | ||
{{:Unlimited_Hosting}} | {{:Unlimited_Hosting}} | ||
| + | [[Category:Unlimited Hosting|DNS Records]] | ||
| + | [[Category:Hosting Troubleshooting]] | ||
Revision as of 13:03, 16 January 2014
Plesk Unlimited Hosting: Adding/Managing DNS Records
Manage DNS zones for your domain names.
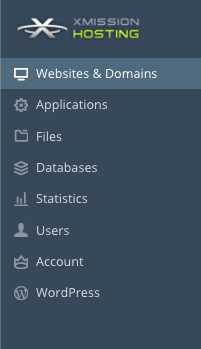
- From the Control Panel, click on the "Domains & Websites" tab near the top of the screen.
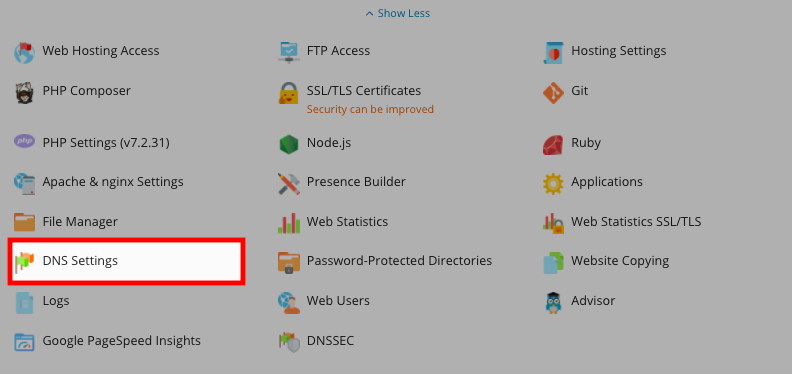
- On the far left column, click the button labeled "DNS Settings."
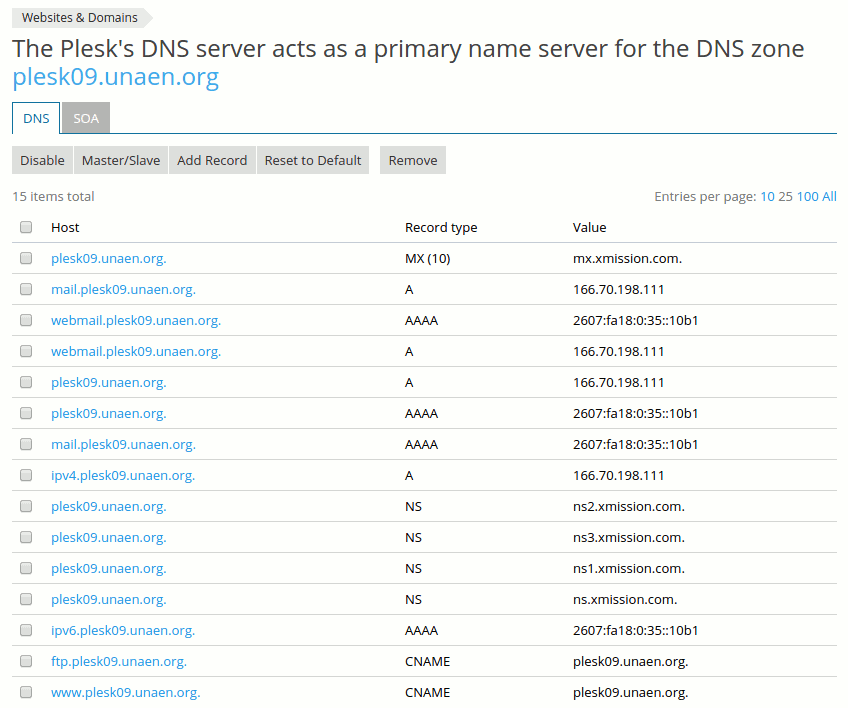
- On the next screen, you will see a record of your zone file settings and can alter them from this screen.
Important note: If you did not register your domain through XMission, there is a chance the registrar may have different name servers for your domain. You will need to update these with your registrar to ns.xmission.com, ns2.xmission.com and ns3.xmission.com.
Wikipedia has some good information on zone file editing. You may want to consider reading the following links prior to making changes:
- Administration/Logging in
- Adding a Domain
- Adding MySQL Databases
- Adding/Managing DNS Records
- Managing Domain/Users
- Managing FTP Access/Users
- PHP Settings
- Previewing the Website
- Secure Your Sites
- Web Statistics
Additional Development Help
Applications
Domain Management


