Managing MySQL: Difference between revisions
Jump to navigation
Jump to search
| Line 1: | Line 1: | ||
== Plesk | == Plesk Shared Hosting: Managing MySQL == | ||
XMission's | XMission's Shared Hosting powered by Plesk has phpmyadmin essentially built right into it! | ||
*From the Control Panel, click on the "Domains & Websites" tab near the top of the screen. | *From the Control Panel, click on the "Domains & Websites" tab near the top of the screen. | ||
| Line 26: | Line 26: | ||
{{: | {{:Shared_Hosting}} | ||
[[Category: | [[Category:Shared Hosting|Managing MySQL]] | ||
Revision as of 09:39, 11 August 2016
XMission's Shared Hosting powered by Plesk has phpmyadmin essentially built right into it!
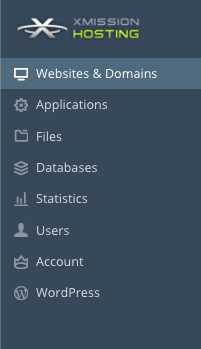
- From the Control Panel, click on the "Domains & Websites" tab near the top of the screen.
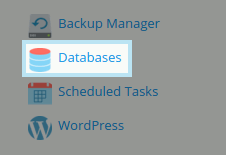
- On the left, click the button labeled "Databases."
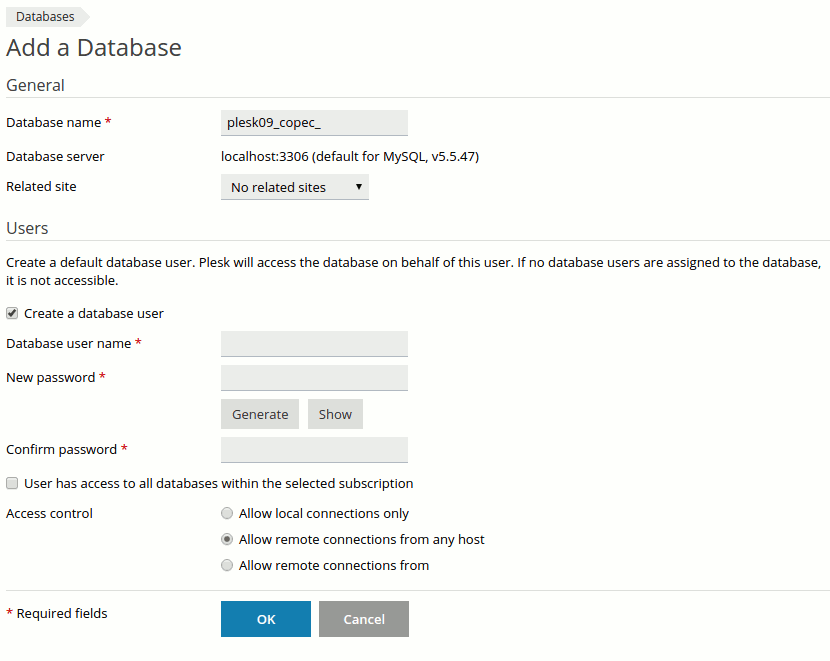
- On the next screen, you will see any existing databases listed near the bottom of the screen. If not databases are listed simply click Add New Database.
- You can fill on the required fields to create your database.
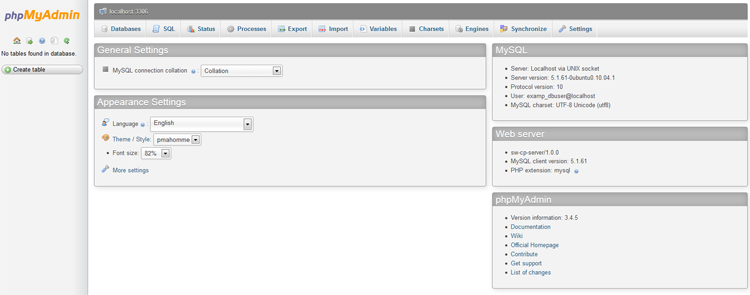
- Now, you should see the screen below. You can then click on WebAdmin to manage your mysql through phpMyAdmin
- Administration/Logging in
- Adding a Domain
- Adding MySQL Databases
- Adding/Managing DNS Records
- Managing Domain/Users
- Managing FTP Access/Users
- PHP Settings
- Previewing the Website
- Secure Your Sites
- Web Statistics
Additional Development Help
Applications
Domain Management


