Managing MySQL
XMission's Shared Hosting powered by Plesk has phpMyAdmin for it’s web based management interface. We do not allow remote access to databases on shared hosting. If your development requires remote database access it can be manually reviewed after speaking with support.
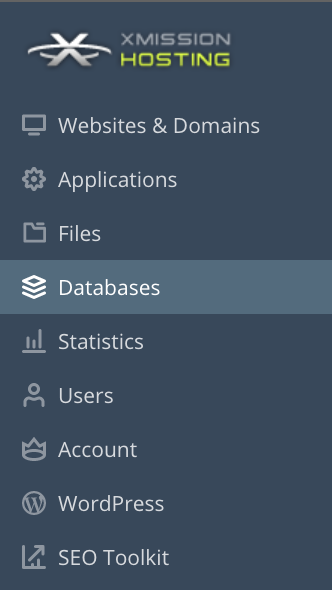
- From the Control Panel, click on the "Domains & Websites" tab near the top of the screen.
- On the next screen, you will see any existing databases listed near the bottom of the screen. If no databases are listed simply click "Add New Database".
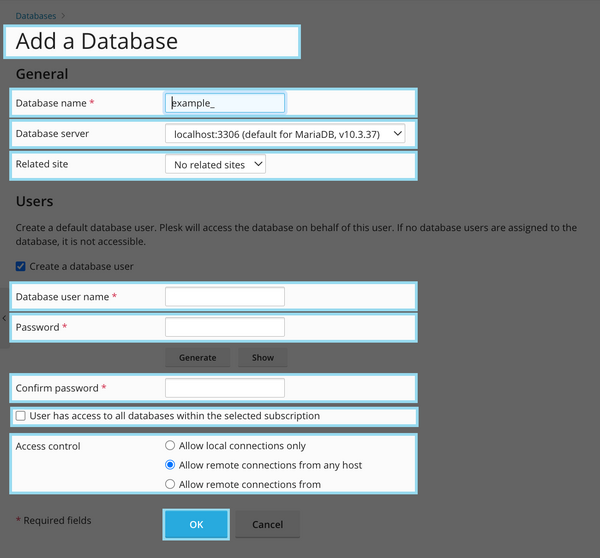
- You can fill on the required fields to create your database.
- Database name - the name of your database
- Database server - you can choose MariaDB or PostgresSql if available
- Related site - the domain which you want to associate the database with
- Database use name - the username you want to use for your database
- Password - the password for your database
- Confirm password - retype your password
- User has access to all databases - if you want this user to have access to all databases on your account you can check this box.
Note: We do not allow remote access to databases on shared hosting. If your development requires remote database access it can be manually reviewed after speaking with support.
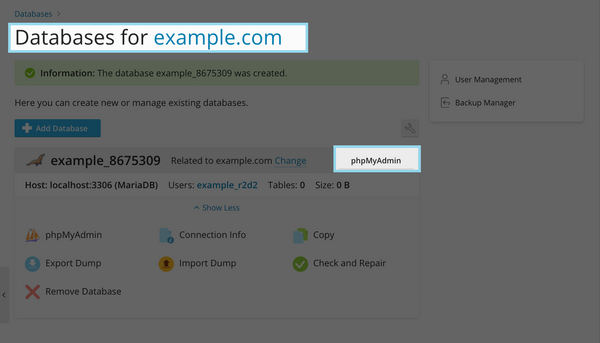
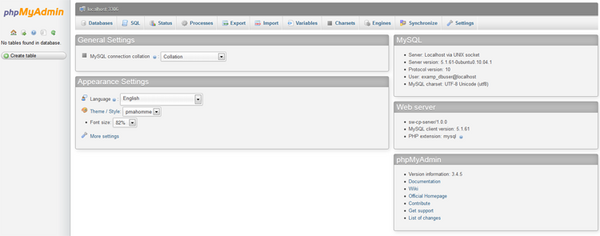
- Now, you should see the screen below. You can then click on phpMyAdmin to manage your MySQL through phpMyAdmin.
- Administration/Logging in
- Adding a Domain
- Adding MySQL Databases
- Adding/Managing DNS Records
- Managing Domain/Users
- Managing FTP Access/Users
- PHP Settings
- Previewing the Website
- Secure Your Sites
- Web Statistics
Additional Development Help
Applications
Domain Management


