Adding a Subdomain
From XMission Wiki
Plesk Unlimited Hosting: Adding a Subdomain
You can create additional subdomains for use with any domains in your Unlimited Hosting account. First, ensure you are logged into your account at http://hosting.xmission.com.
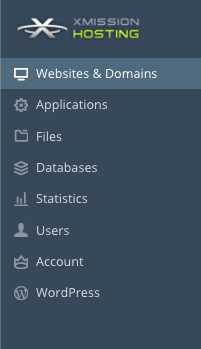
- From the Control Panel, click on the "Websites & Domains" tab near the top of the screen.
- Near the bottom of the screen, click the "Add New Subdomain" button.
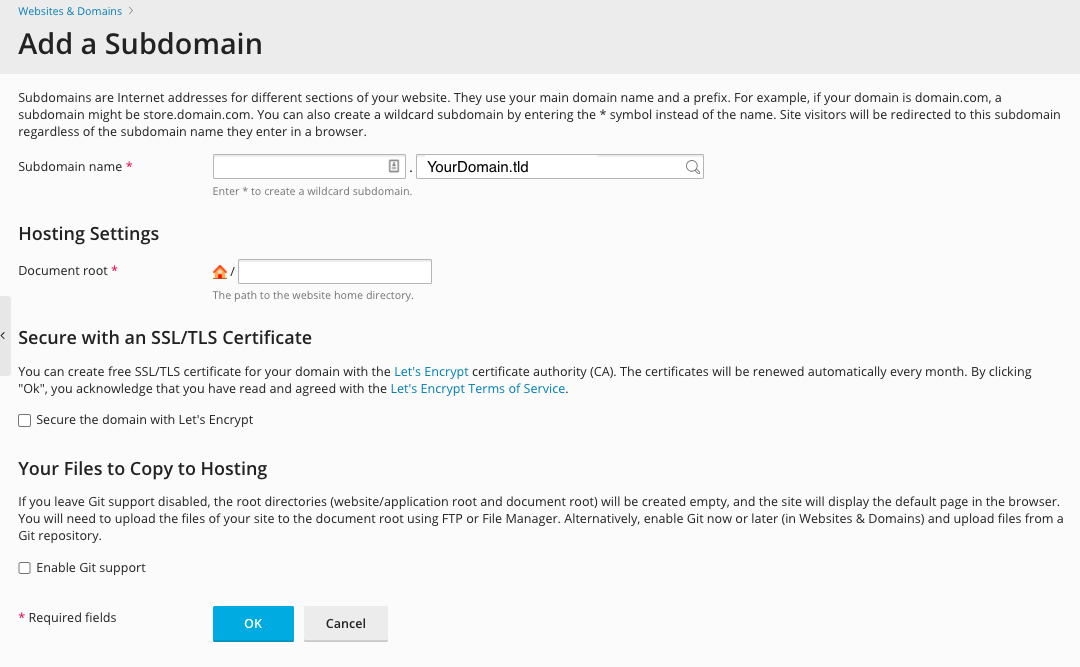
- On this screen, you will need to enter the following highlighted pieces of information. A brief description of each follows the image.
- Subdomain name: This is the name of your new subdomain. In this example, we would be adding the subdomain "example" which in this case would translate to "example.xdesign.com"
- Document root: This is the folder where you will build your new website. In this example, we have used "/subdomains/example."
Please note: It is highly recommended you create folders within the "/subdomains" directory to ensure your subdomain works correctly.
- Once you've entered the correct information for your new domain, simply click "OK." You will see the following text indicating your new domain has been created successfully!
Optional
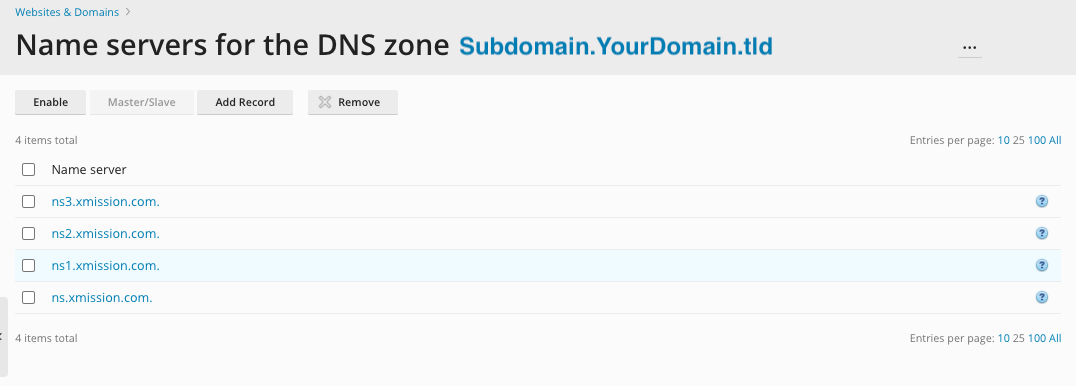
- You may want to enable DNS for your new subdomain if you need to have separate DNS records from your primary domain. To do so, ensure you have returned to the "Domains & Websites" tab and then click "DNS Settings" as indicated below:
- Click the "Manage" link beside the subdomain you just created. In this example, we would be using "wp.xdesign.com."
- Then, simply click the button labeled "Switch on the DNS Service."
- You can now create separate and independent records for your subdomain.
- Administration/Logging in
- Adding a Domain
- Adding a Subdomain
- Adding a Domain Alias
- Adding a Domain Forwarder
- Adding MySQL Databases
- Adding/Managing DNS Records
- Managing Domain/Users
- Managing FTP Access/Users
- PHP Settings
- Previewing the Website
- Secure Your Sites
- Web Statistics
Additional Development Help
Applications
Domain Management


